A few weeks ago, my mom came into town and we spent a morning making a giant batch of pizza crusts, which we froze in bulk for me to use as needed. I’m not sure why it never occurred to me to make pizza crust in bulk, but it is such a lifesaver on those nights where you have been running around all day with the kids/work and you come in thinking that the last thing you want to do is make dinner. And, since pizza is one of the 5 foods my 4 year old will eat, we tend to make it a lot around here.
This is some seriously good pizza crust folks! In all honesty, I might even like it better than it’s gluten filled counterpart. It’s crispy, but still manages to have a nice chew. It’s light, yet sturdy enough to hold up a generous helping of toppings. It is without a doubt the best gluten free crust I have tried and I love that the recipe makes such a large batch.
I liked it so much that I’ve already made it through my frozen stash. I needed to carve out a morning to make another recipe so I thought I’d document the process so you can make it at home too! The format for this post will be slightly different as I think that pictures intermixed into the directions are particularly helpful for this recipe. No fancy or colorful pics for this post because really…how colorful can you make a tutorial on pizza crust? But, stay tuned for a delicious fun pizza recipe to try with this crust in my next post!
Let’s get started shall we?
To begin, you will need to make a basic gluten free flour blend. Do this by combining 4 cups of sorghum flour and 6 cups of brown rice flour. This will give you enough flour for several recipes so your leftovers can be stored in a cool dry place or in the fridge for later use.
Next, mix 4 Tbsp of dry yeast, 4 Tbsp sugar and 6 cups of warm water in a large bowl. Let the yeast proof for at least 5 minutes or until it is bubbly and puffed up.

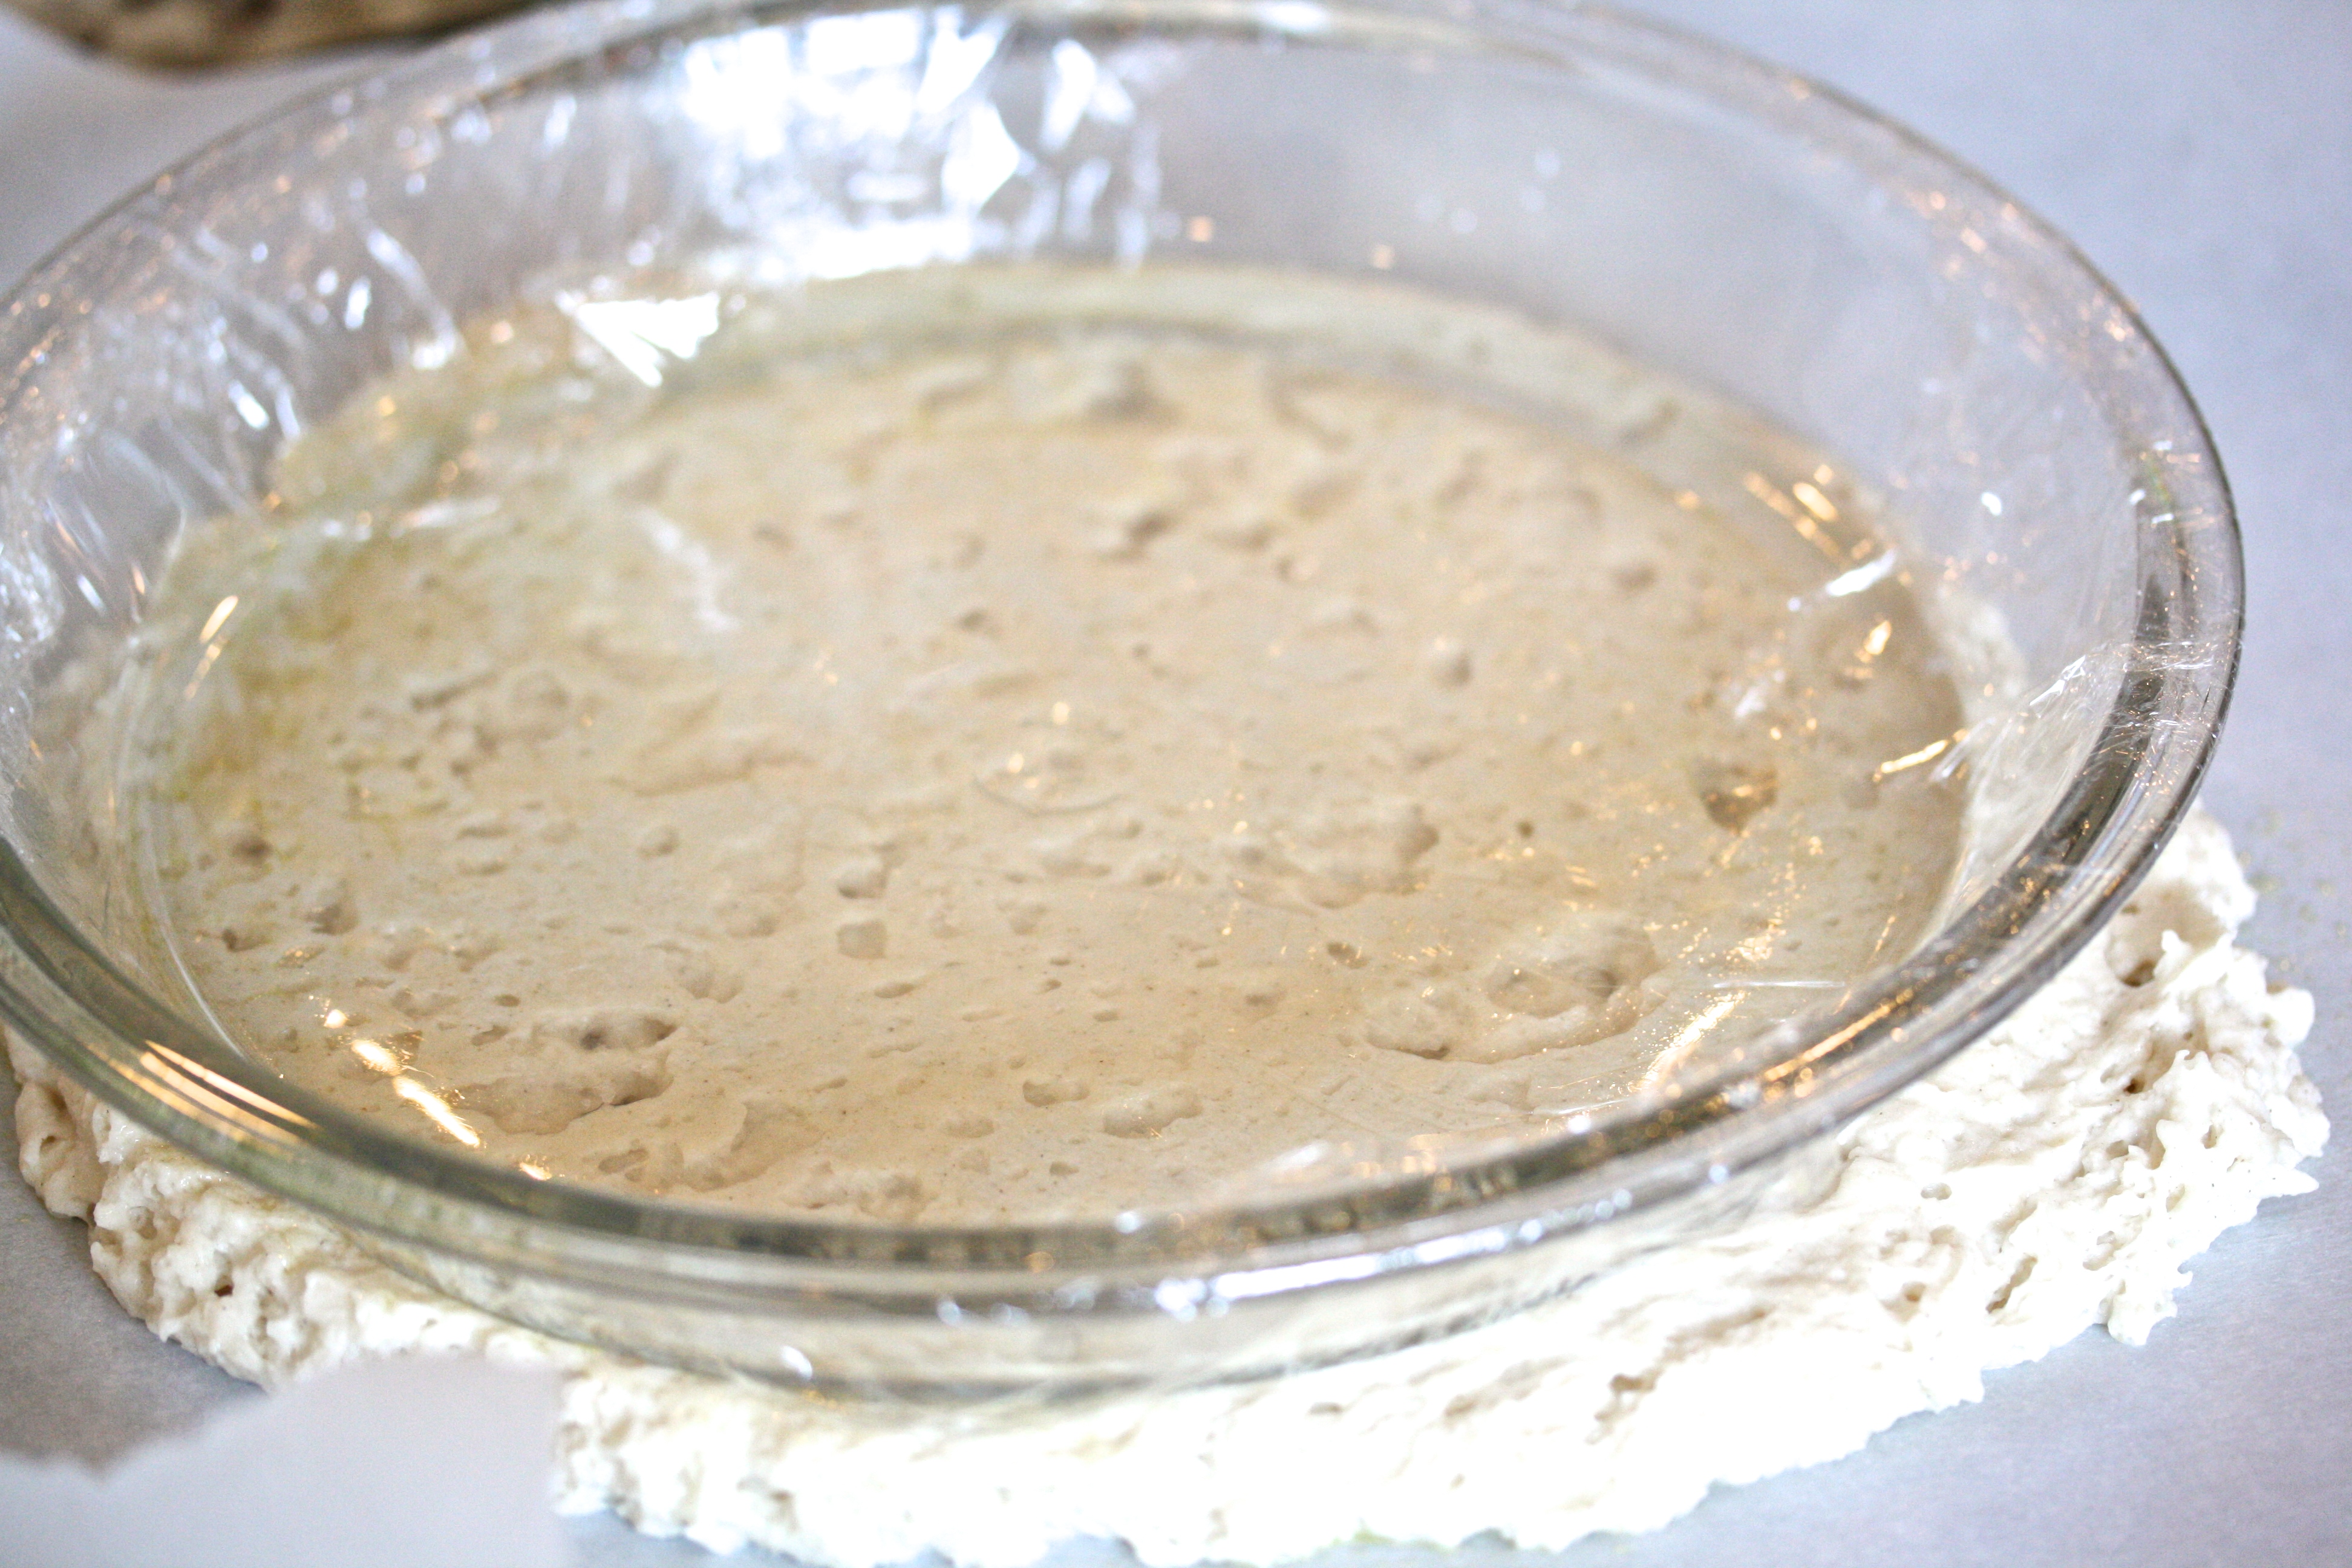
To this mixture, add 4 cups of the flour blend, 4 cups of potato starch, 8tsp xantham gum, and 2 Tbsp salt. Whisk together until smooth. Add 8 Tbsp olive oil and mix until combined. Cover the bowl with plastic wrap and let it rise on top of the oven for 30 minutes. Do not let it rise for much longer than this because the dough will become harder to work with.

While the dough is rising, take some time to gather your supplies to make the dough into individual crusts. You will need 3 large dinner plates or pizza pans, a roll of plastic wrap, a roll of parchment paper, a pie/tart pan and cooking spray. Cover the pie plate with plastic wrap and spray generously with cooking spray. Place a large piece of parchment paper on your work surface and scoop a generous cup of dough onto the parchment.

Next, gently press the dough into a circle using the pie plate. You will want to be careful when lifting the pie plate off the dough so as not to tear it. Press the dough out so that it is very thin (less than 1/4″ thick) and about 10″-12″ in diameter.

Slide the pizza crust and parchment paper onto one of the pizza pans or large plates and place it in the freezer. Repeat this process two more times. On the fourth crust, you may begin gently stacking the new crusts on top of your partially frozen crusts. This recipe makes about 8-9 crusts so once you have finished making all the crusts, allow them to freeze for several hours or overnight until completely hardened. To store, stack the crusts on top of one another, separated by parchment paper and wrap the entire stack in aluminum foil. Freeze until ready to use.
To cook the crust, preheat the oven to 450 degrees. Spray a pizza pan with cooking spray and place the frozen crust on the pan. Bake on the bottom rack for 20-25 minutes until it begins to brown on the bottom. At this point you can add your toppings and bake for additional 15 minutes until the cheese is fully melted and slightly browned on top.

Leave a comment