How to Make Bright Eyeshadow Wearable

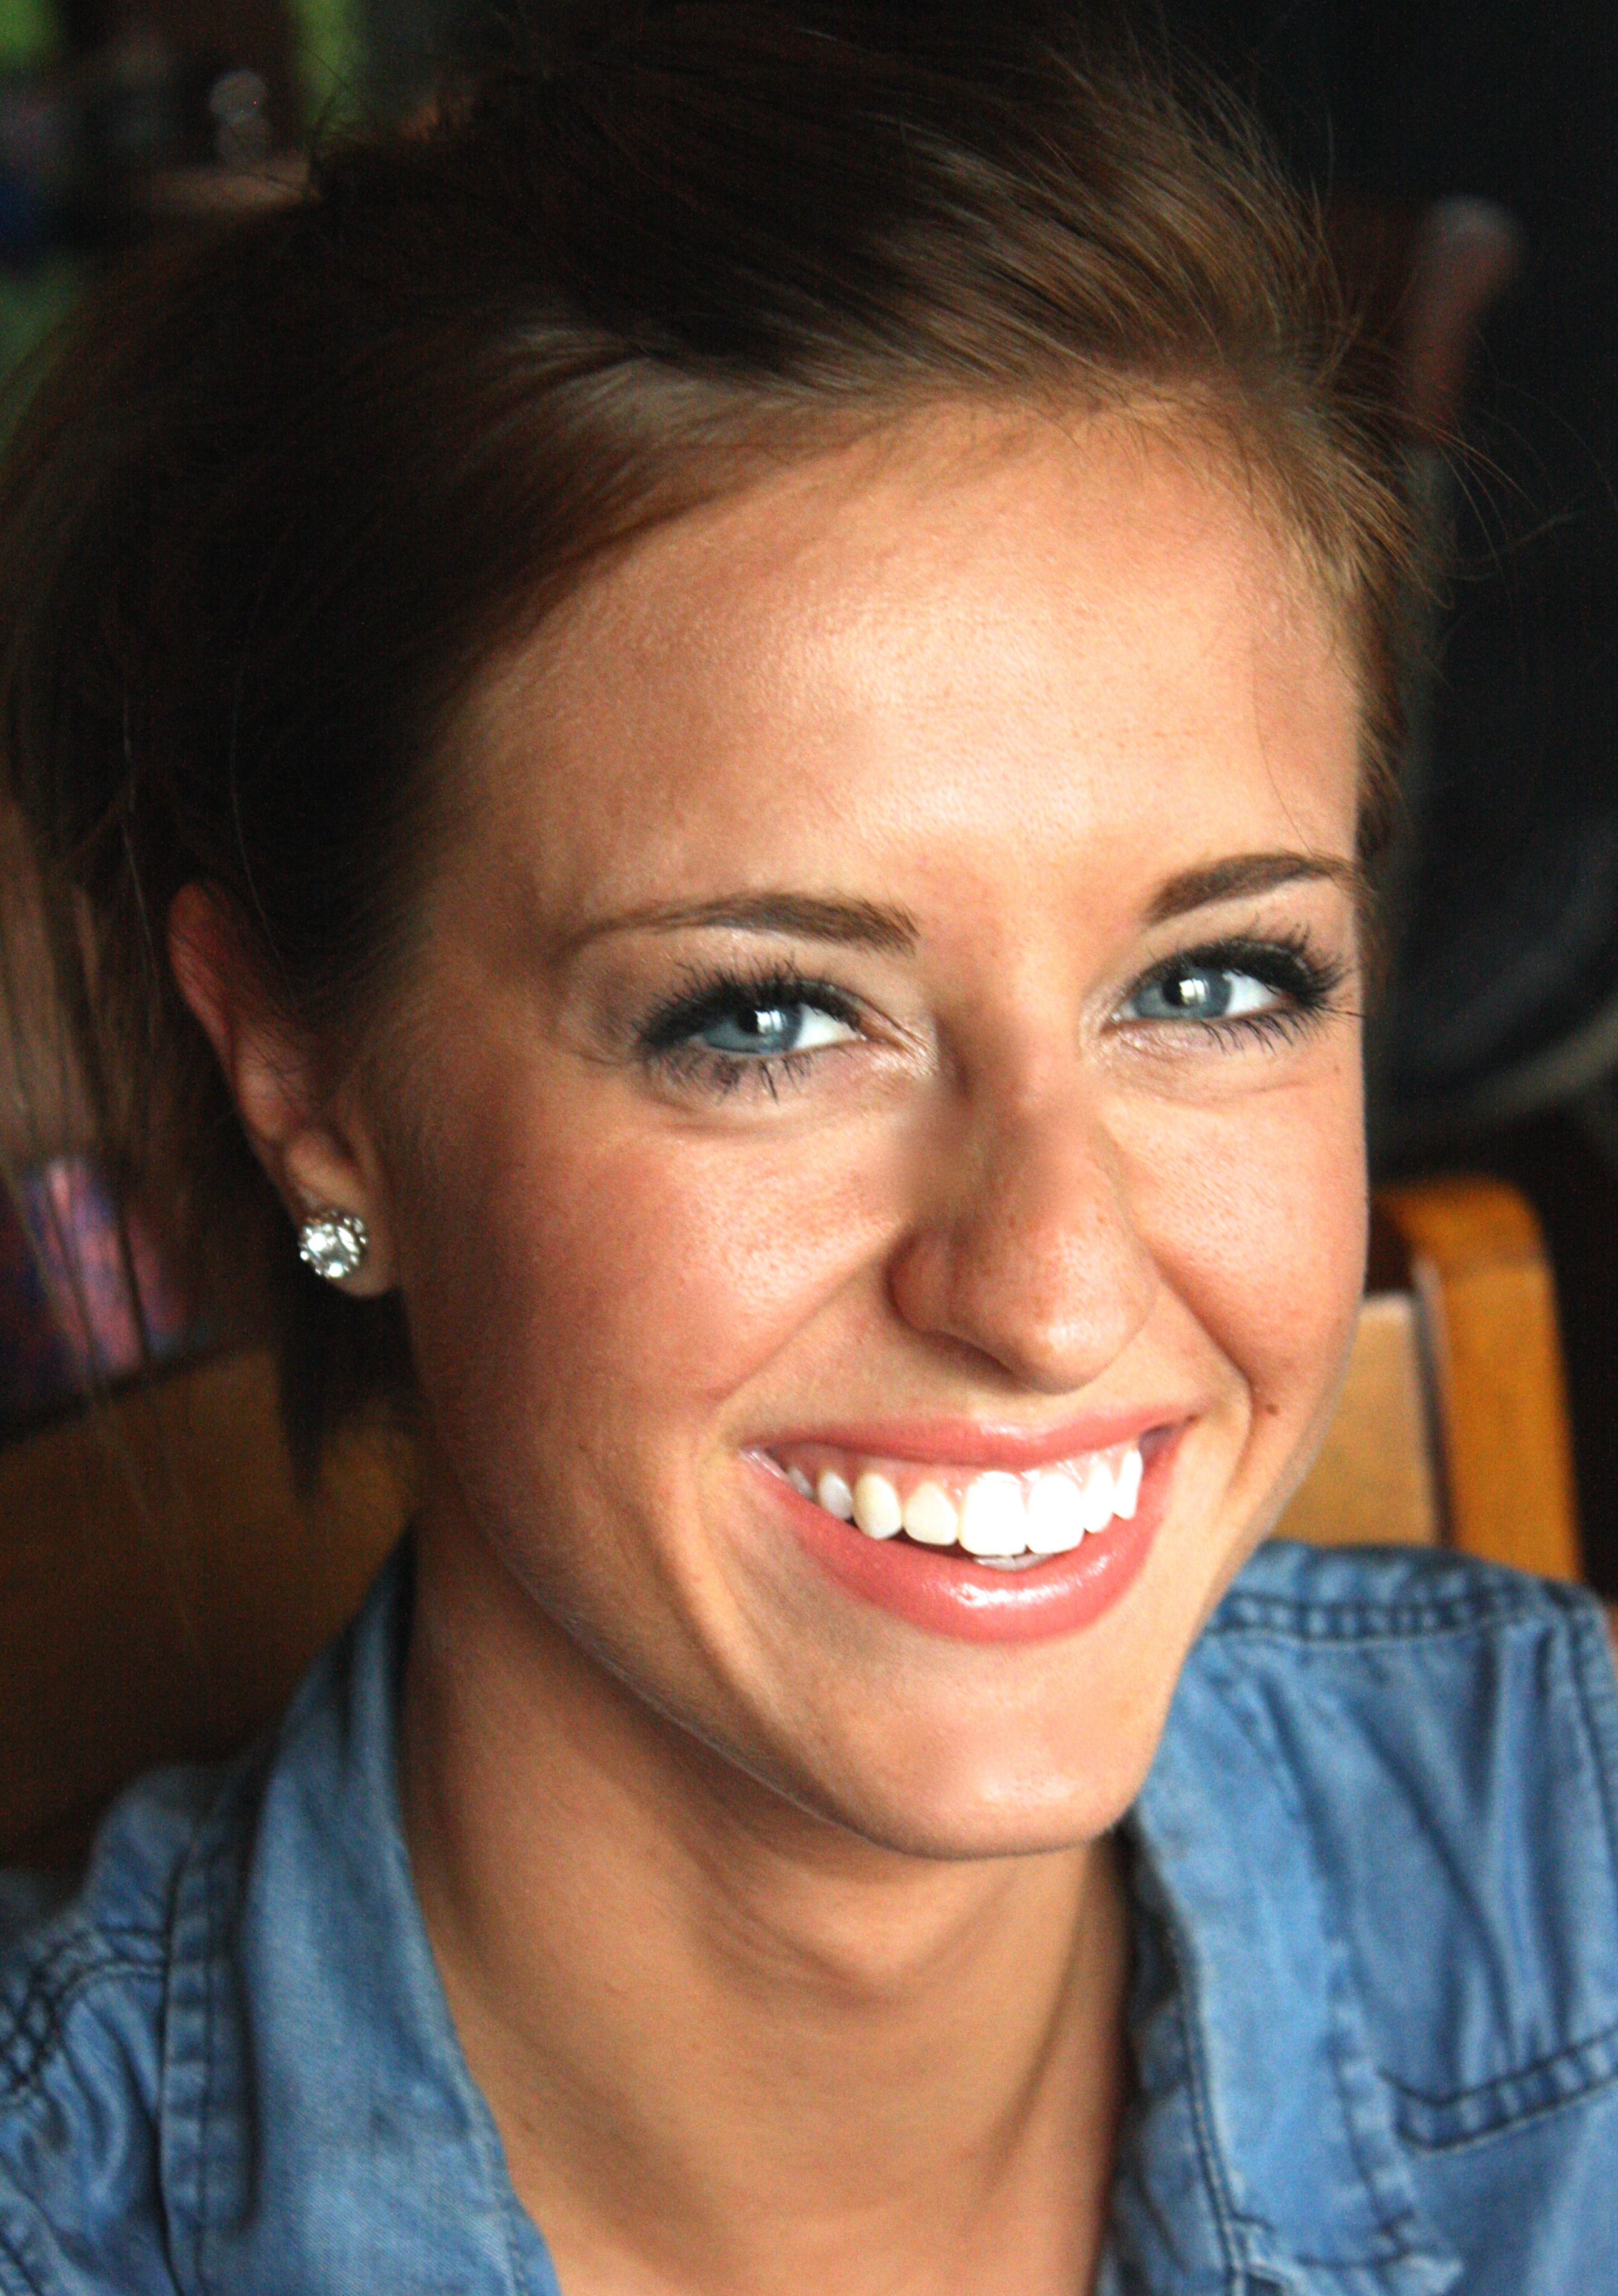
   I am a die hard neutral makeup lover.  Pass me the taupes, bronzes and champagne colors any day.  But there is something kind of fresh about the occasional pop of color on the lid.   We get scared of bright colors because our mind’s eye automatically transports us to the days of big hair, scrunchies and geometric sweaters.  There is a way, however, to make bright colors totally wearable and even, dare I say it, surprisingly subtle.   I recruited my gorgeous sister in law to be my guinea pig and put this look into action.  While not all of us can have strikingly beautiful big blue eyes, the principles for rocking this look are the same.   Here are the tips that I think make bright eyeshadow modern, fresh and totally wearable!

IMG_9141


IMG_9167

1.  Prime your lids.  This step is crucial if you are going to wear a bright shadow.  You really want the bright color to stay focused on the center of the lid and not migrate up into the crease (a la 1980’s blue eyeshadow disaster).  I used the Bare Minerals 5-in-1 Advance Performance Cream Eyeshadow in Candlelit Peach. 

2. Surround the color with a neutral.  This is the single most important step to a more subtle take on a bright lid.  Choose a light matte shade just a bit darker than your natural skin tone.  Using a fluffy blending brush, sweep the shadow into and slightly above your crease, using wind shield wiper motions.  Add more shadow to build up the intensity in the outer half of the crease.  I used a limited edition shadow but any medium taupe shade would work (similar here).

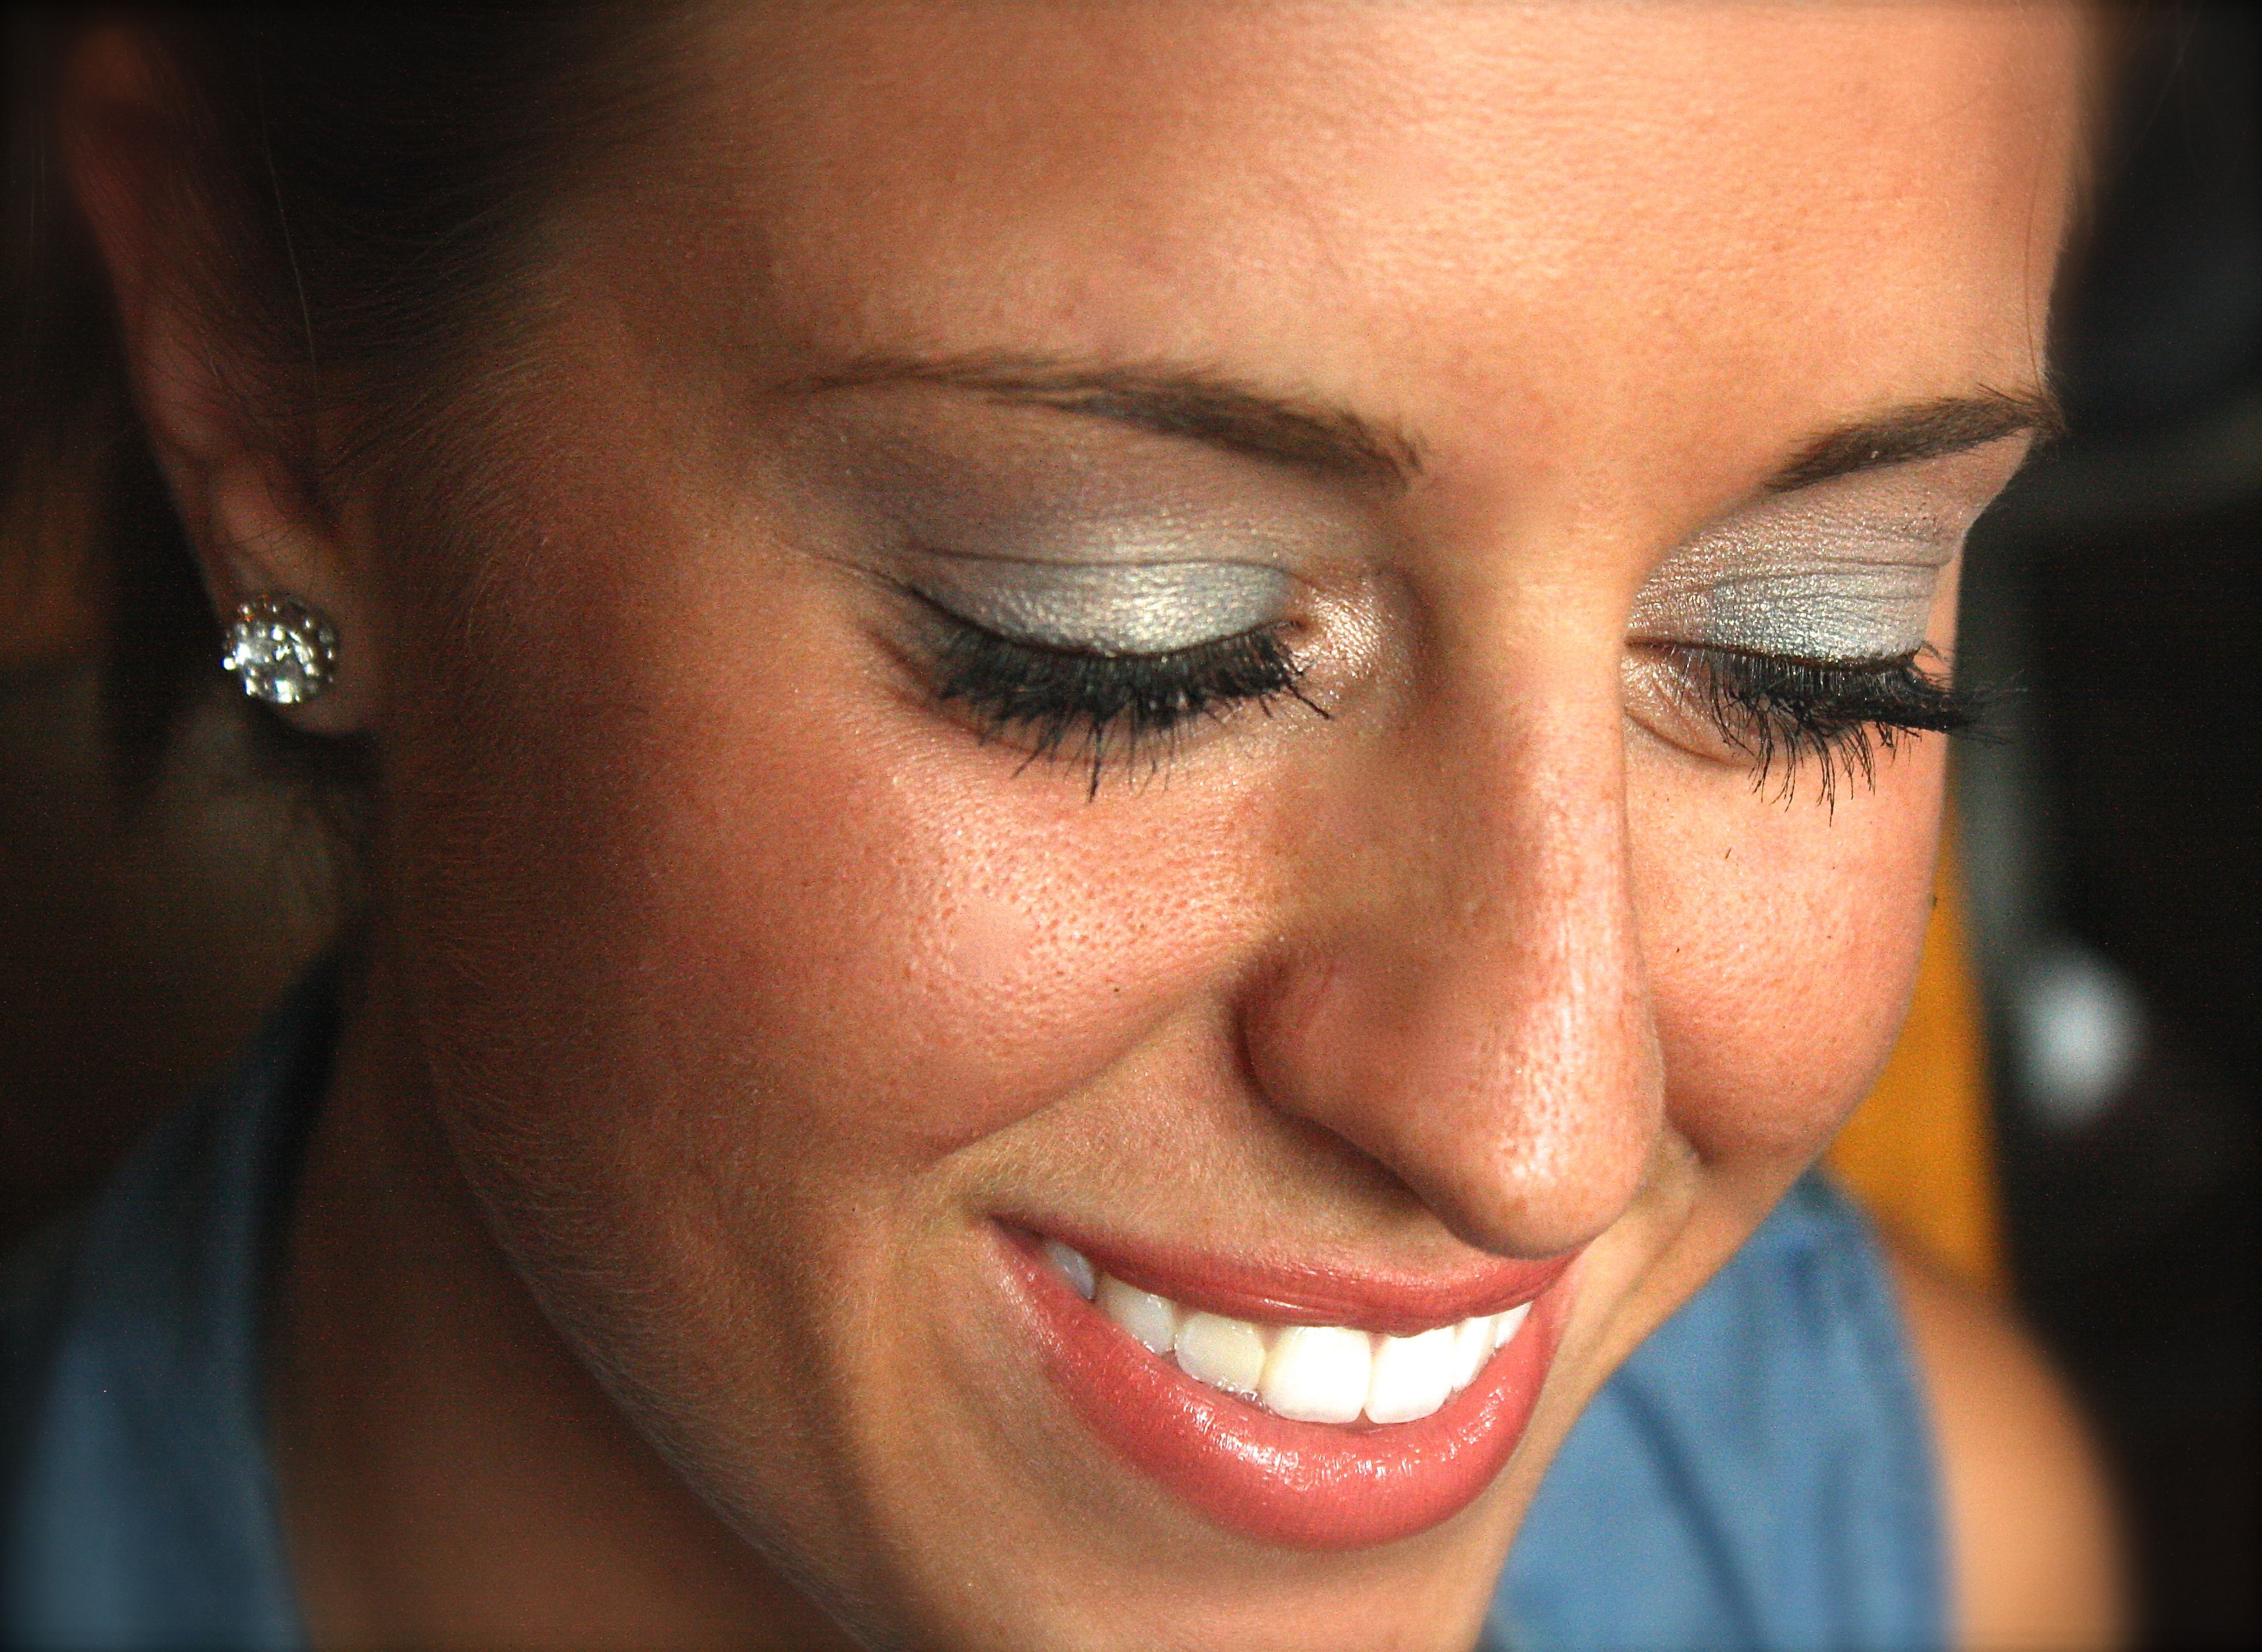
3. Commit to a bright color.  Choose a color that works with your eyes and skin tone.  I chose a bright blue for Isabel because I thought it looked great against her tan skin and blue eyes.  I used Bare Minerals Eyecolor in Chameleon.  Next, you want to take a flat shadow brush and pack on the color.  Don’t sweep the brush over the lid.  Pat the color on gently, focusing on the center of the lid until you reach your desired intensity.

4. Keep the rest of your makeup simple.  In order to keep this makeup look modern, minimize the rest of your makeup.  Finish your eyes by tight lining the upper lash line and applying mascara.  Try the Stila Stay All Day Liquid Liner in dark brown and your favorite mascara (I think this is totally personal preference).  Keep the rest of your face minimal by simply applying a bit of concealer and finish the look with a soft peach lip.   

5. Be confident because God made you beautiful!

IMG_9142

DIY Eye Shadow Primer

Today we are talking makeup… and how summertime makes it a dripping, streaky, creasing mess.    Eye makeup in particular can look pretty gross by the end of the day.  Usually I don’t really bother with things like primer, but sometimes (i.e. things like my two siblings’ weddings this summer) I need some extra staying power.  I used to use the free samples of Urban Decay Primer Potion I would get from Ulta or Sephora for those special days, but when I started making the switch to more natural and organic beauty products, I realized the stuff was full of junk (like cancer causing parabens and skin irritating bismuth oxychloride).  Bummer, because the stuff really works!   Finding a natural replacement has been somewhat of a letdown so when I found this recipe for a DIY eye shadow primer, I was excited to try it.  The best part is that it whips up in seconds and is made from stuff you probably have around your house.

Rummage through your purse to find that tube of Burt’s Bees Lip Balm you have buried in the bottom of it (make sure it’s not the minty kind as this could cause some major eyelid irritation).  Next, snag the cornstarch from your baking cupboard and then head to your makeup bag and grab your favorite foundation or tinted moisturizer.    You will also need a small container to mix and store your primer in.

Image

Here is the basic recipe which can be altered proportionally to make as little or as much as you want:

  • 1/4 tsp natural lip balm (note: this is important because natural balms usually have beeswax, which is what help the eyeshadow adhere to your lid)
  • 1/2 tsp cornstarch
  • 3/4 tsp liquid foundation or tinted moisturizer

First start out by warming the lip balm tube in hot water until the balm is very soft.  Add it to your container and stir in the cornstarch and foundation until smooth.  And that’s it!  It should look something like this:

Image

Now, of coarse the real question is: does it really work?  Well, I put it to the test on three separate days and also paired it up against the competition to see how it would perform.  The key is to apply a very thin layer, especially on the crease.

The first day I paired it against a left over sample of Urban Decay Primer Potion I had.  The first thing I noticed is that both intensified my eye shadow colors equally well.   UD looked the best at the end of the day, but my homemade primer wasn’t too far behind.   The top photo is at the beginning of the day and the bottom is about 12 hours later.

Image

The second day I tested it out against an organic eye primer I bought awhile back from Faerie Organics.   Again, both primers did a great job at intensifying my eyeshadow, and both looked reasonably fresh by the end of the day.  Top photo is at the beginning of the day and bottom photo is about 12 hours later.Image

I was feeling pretty encouraged after my first two days of testing, but the weather had been unseasonably cool, so I knew that the real test would be a humid summer day.  Yesterday was perfect!  I mean, we are talking weather so humid that all you have to do is look outside and you start sweating.  I decided to pair up the homemade primer with my Faerie Organics primer again.  At the end of the day, the homemade primer had definitely kept my shadow in place better than Faerie Organics.  Both creased some, but the homemade primer creased less.  Again, top photo is at the beginning of the day and the bottom photo is about 12 hours later.

Image

Final Thoughts: I think this is a great option if you are trying to go for a more natural product or you don’t feel like dropping $20 on something you may not use every day.   My lids are not super oily so I would be interested to see how it holds up on someone with oily lids.