Today we are talking makeup… and how summertime makes it a dripping, streaky, creasing mess. Eye makeup in particular can look pretty gross by the end of the day. Usually I don’t really bother with things like primer, but sometimes (i.e. things like my two siblings’ weddings this summer) I need some extra staying power. I used to use the free samples of Urban Decay Primer Potion I would get from Ulta or Sephora for those special days, but when I started making the switch to more natural and organic beauty products, I realized the stuff was full of junk (like cancer causing parabens and skin irritating bismuth oxychloride). Bummer, because the stuff really works! Finding a natural replacement has been somewhat of a letdown so when I found this recipe for a DIY eye shadow primer, I was excited to try it. The best part is that it whips up in seconds and is made from stuff you probably have around your house.
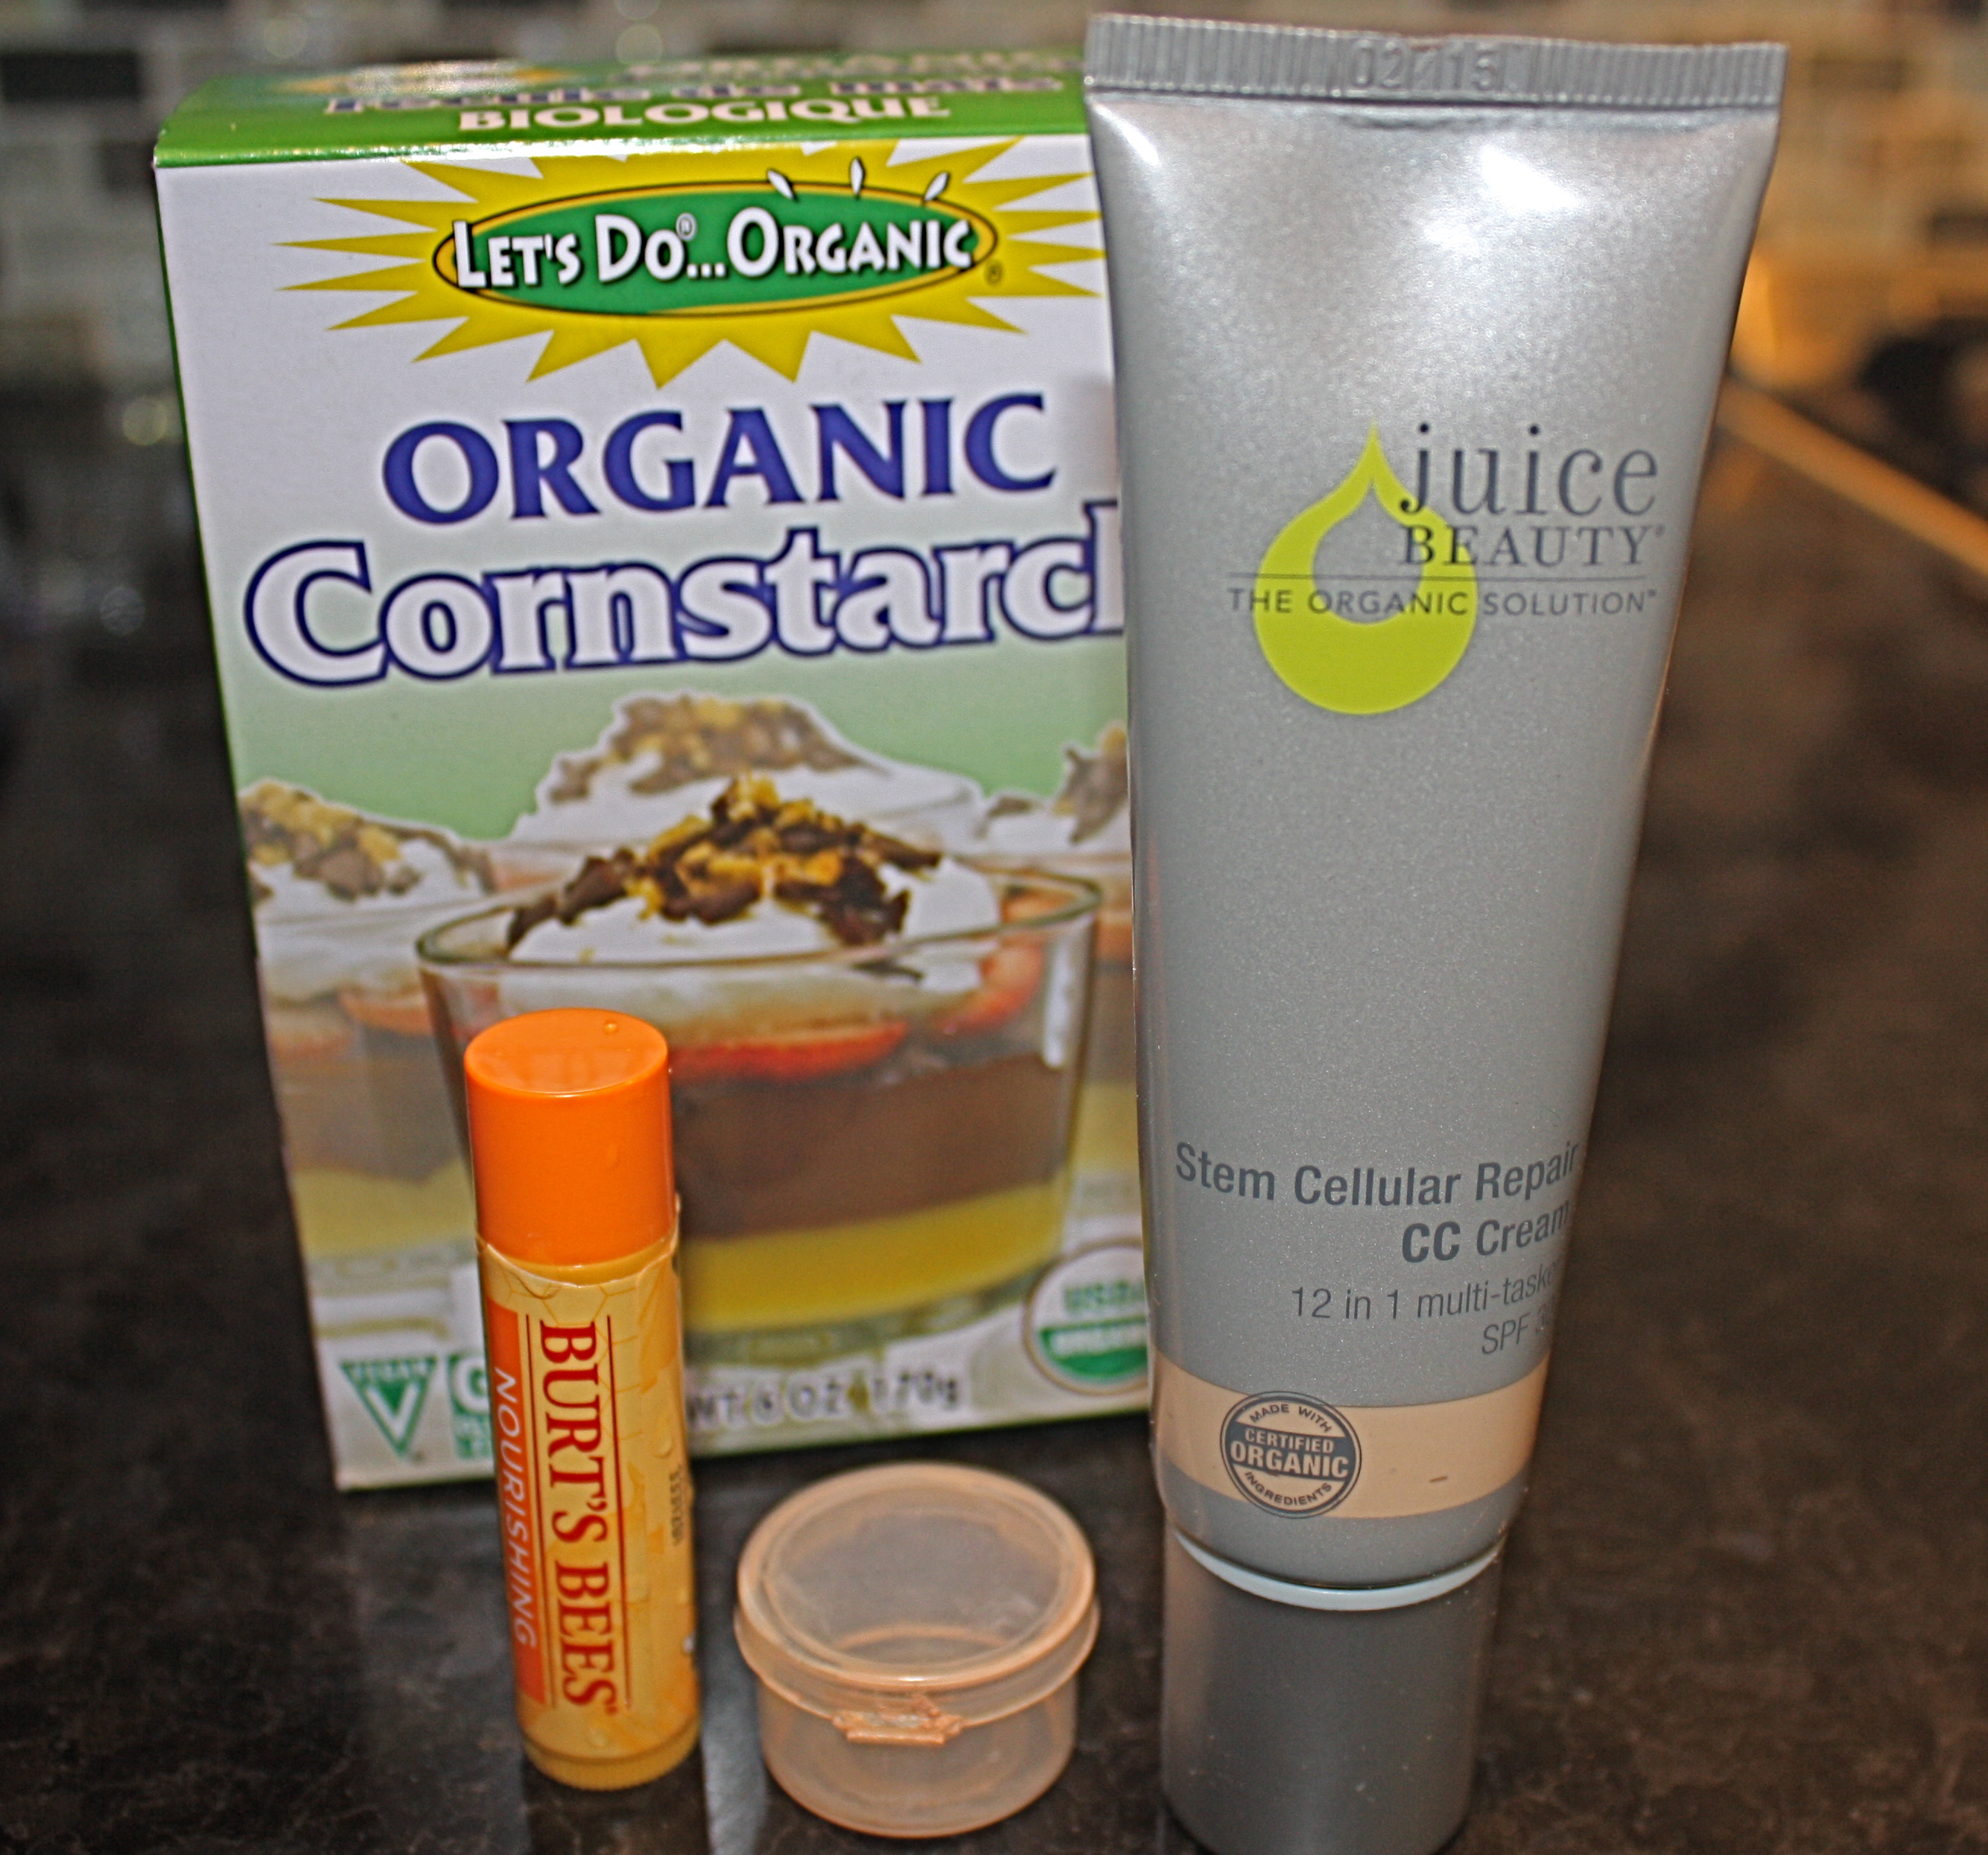
Rummage through your purse to find that tube of Burt’s Bees Lip Balm you have buried in the bottom of it (make sure it’s not the minty kind as this could cause some major eyelid irritation). Next, snag the cornstarch from your baking cupboard and then head to your makeup bag and grab your favorite foundation or tinted moisturizer. You will also need a small container to mix and store your primer in.
Here is the basic recipe which can be altered proportionally to make as little or as much as you want:
- 1/4 tsp natural lip balm (note: this is important because natural balms usually have beeswax, which is what help the eyeshadow adhere to your lid)
- 1/2 tsp cornstarch
- 3/4 tsp liquid foundation or tinted moisturizer
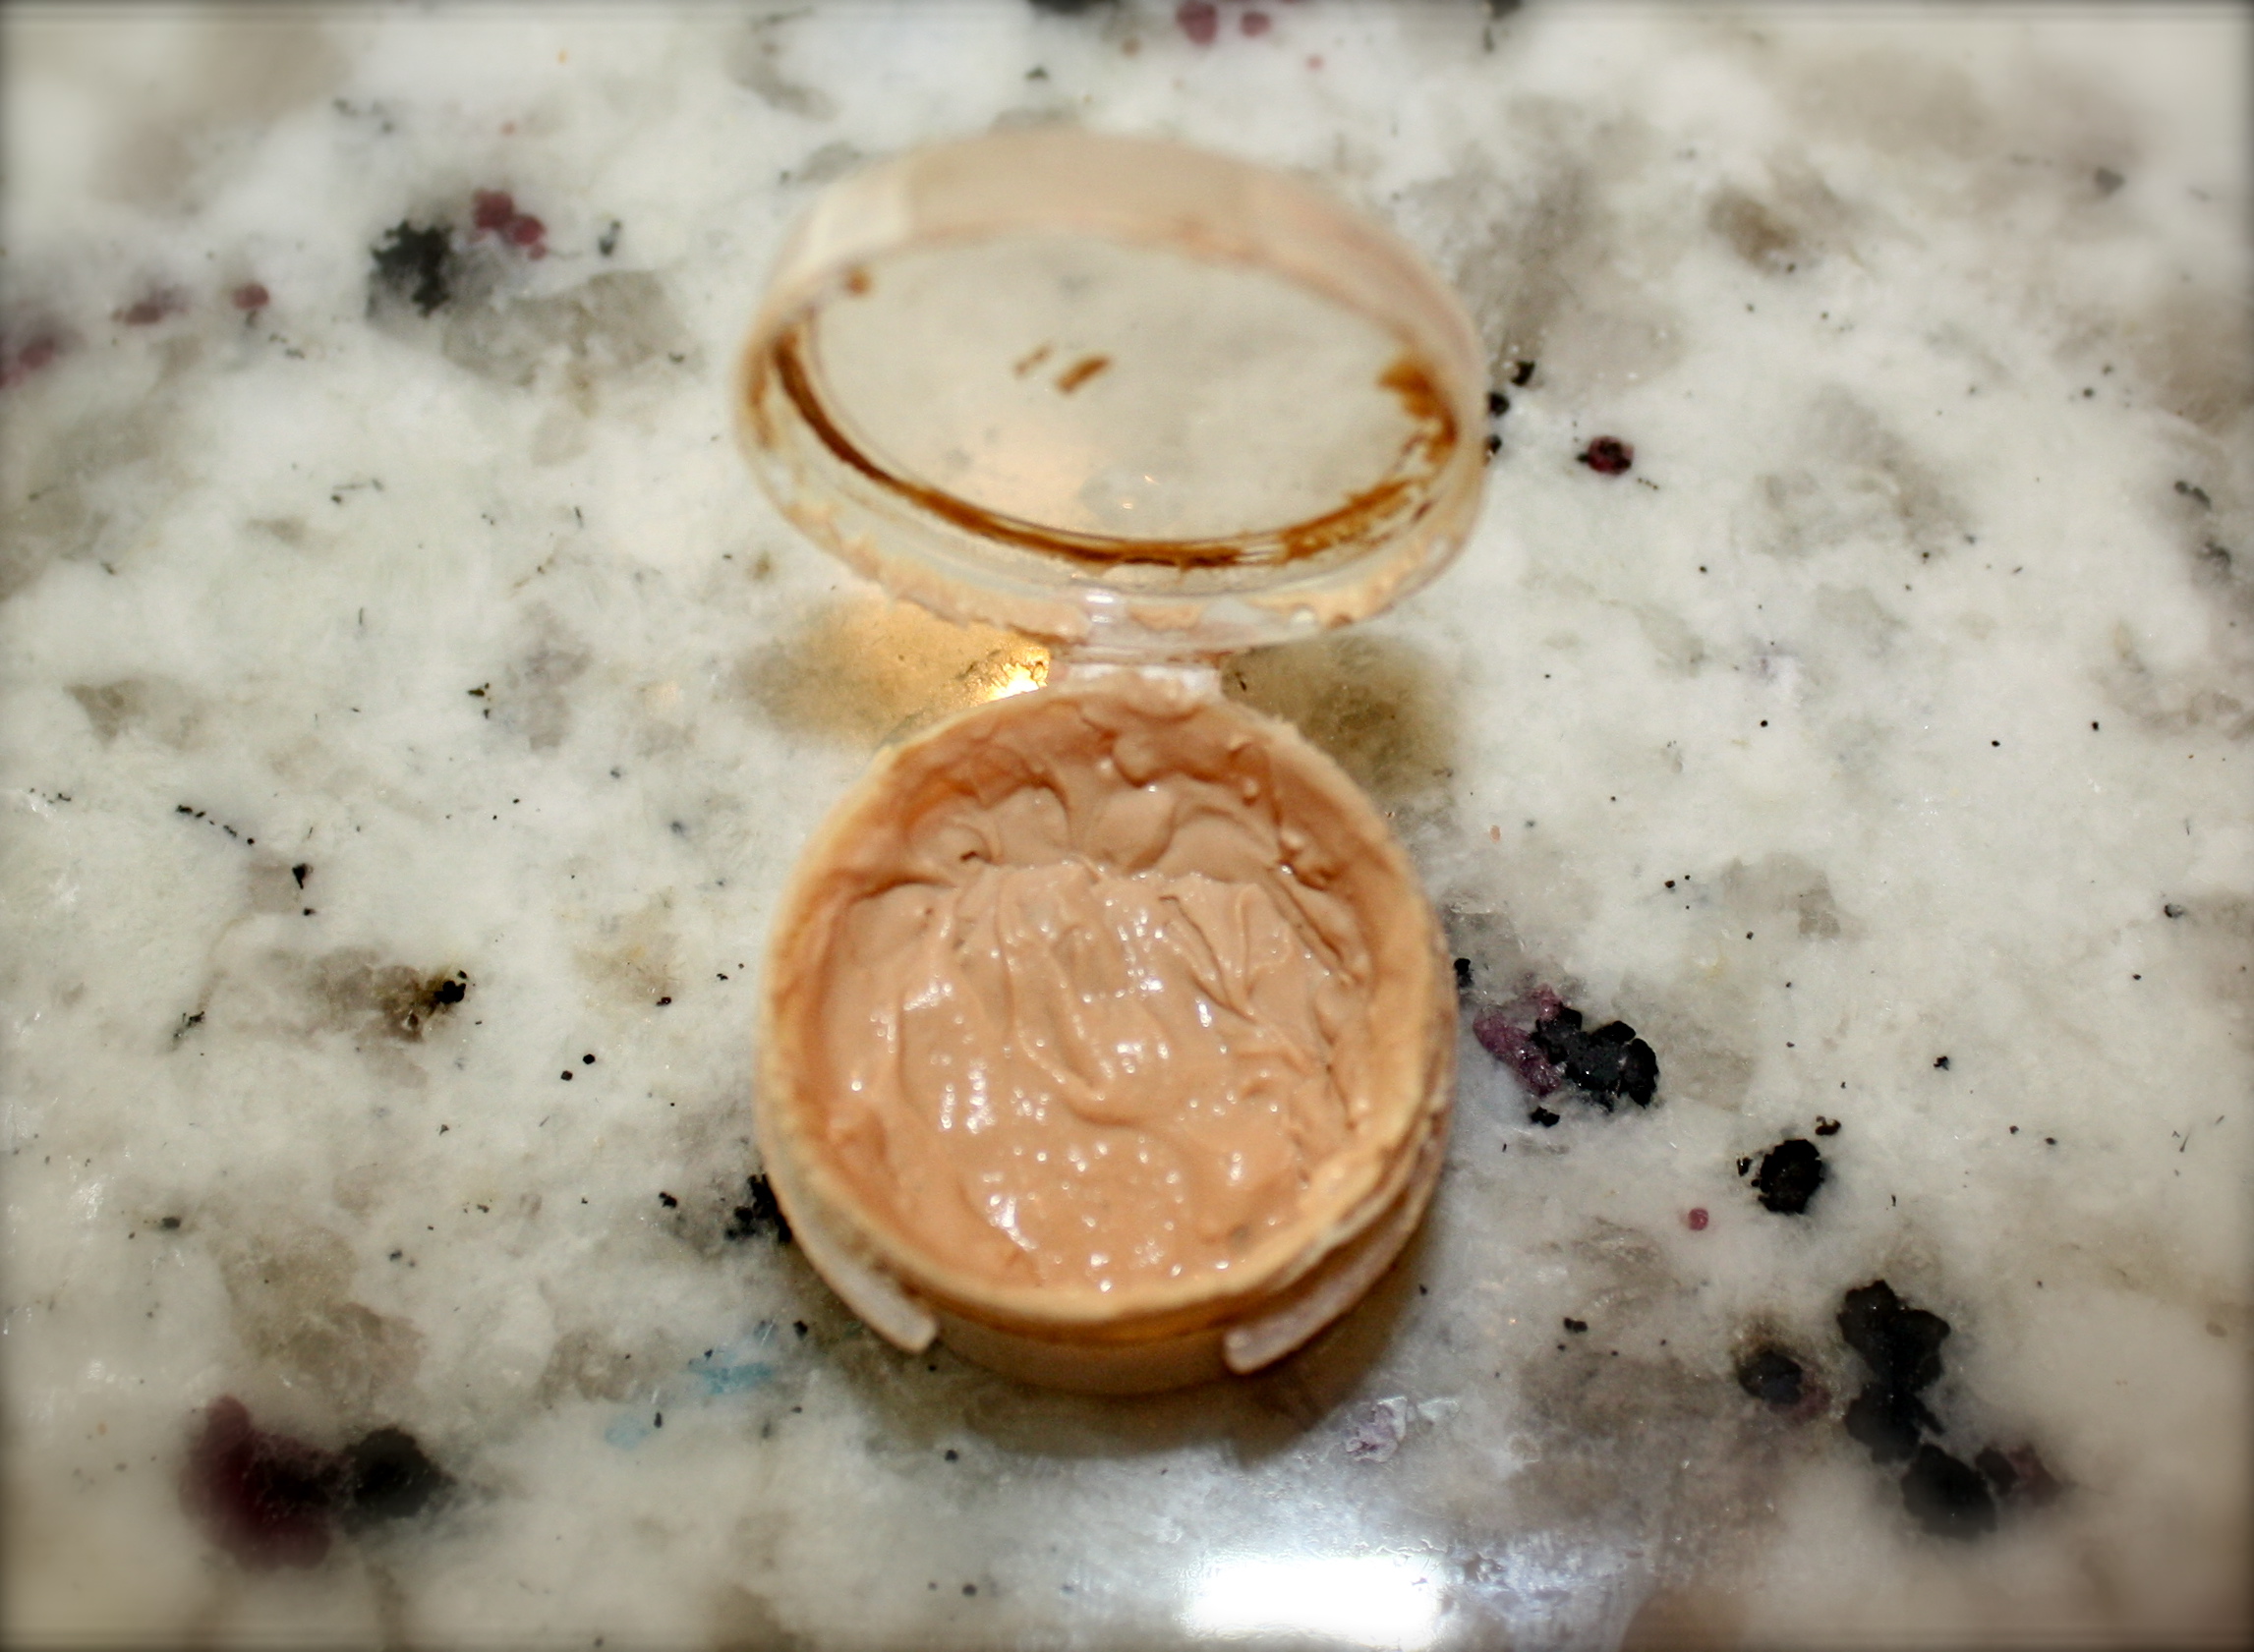
First start out by warming the lip balm tube in hot water until the balm is very soft. Add it to your container and stir in the cornstarch and foundation until smooth. And that’s it! It should look something like this:
Now, of coarse the real question is: does it really work? Well, I put it to the test on three separate days and also paired it up against the competition to see how it would perform. The key is to apply a very thin layer, especially on the crease.
The first day I paired it against a left over sample of Urban Decay Primer Potion I had. The first thing I noticed is that both intensified my eye shadow colors equally well. UD looked the best at the end of the day, but my homemade primer wasn’t too far behind. The top photo is at the beginning of the day and the bottom is about 12 hours later.

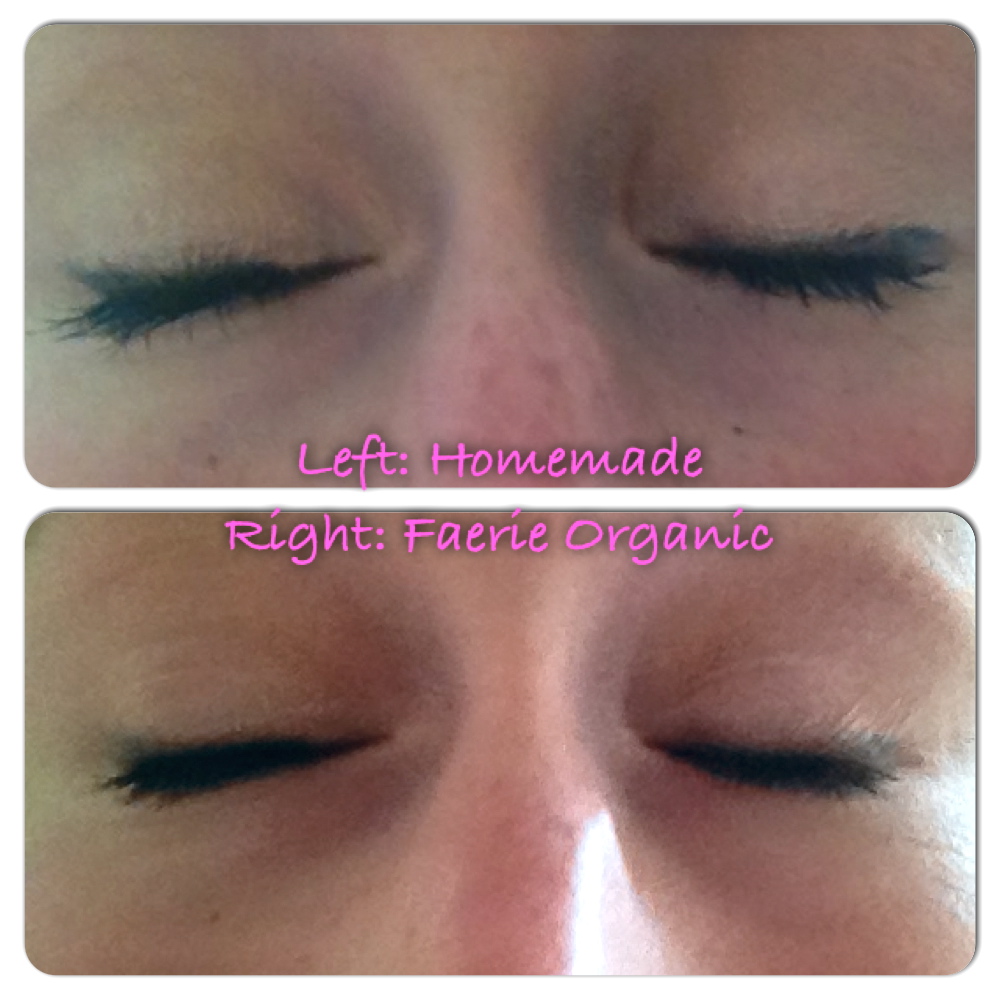
The second day I tested it out against an organic eye primer I bought awhile back from Faerie Organics. Again, both primers did a great job at intensifying my eyeshadow, and both looked reasonably fresh by the end of the day. Top photo is at the beginning of the day and bottom photo is about 12 hours later.
I was feeling pretty encouraged after my first two days of testing, but the weather had been unseasonably cool, so I knew that the real test would be a humid summer day. Yesterday was perfect! I mean, we are talking weather so humid that all you have to do is look outside and you start sweating. I decided to pair up the homemade primer with my Faerie Organics primer again. At the end of the day, the homemade primer had definitely kept my shadow in place better than Faerie Organics. Both creased some, but the homemade primer creased less. Again, top photo is at the beginning of the day and the bottom photo is about 12 hours later.
Final Thoughts: I think this is a great option if you are trying to go for a more natural product or you don’t feel like dropping $20 on something you may not use every day. My lids are not super oily so I would be interested to see how it holds up on someone with oily lids.