Blueberry Crisp

Once upon a time my oldest daughter LOVED frozen blueberries.  She ate them like candy. So, my mother-in-law and I washed, sorted and froze 30 pounds (yes really, 30 pounds!!!) of organic blueberries.  And wouldn’t you know it, right about that time that my daughter decided she didn’t like them anymore.  This meant that 30 pounds of blueberries were relegated to my chest freezer where they have been hanging out for over a year.

Recently, my mother in law gave me this book by Shauna Niequist and I figured it had to be good because it was about food.  I didn’t make it very far before I wanted to try the blueberry crisp recipe recorded at the end of the first chapter.  You can imagine my excitement when I found a healthy, gluten free version of a blueberry crisp, which promised to use at least two of those 30 pounds of berries.

This crisp is rich and sweet enough for dessert, but virtuous enough to enjoy for breakfast.    Start with about 2 pounds of blueberries, almond meal, pecans, coconut oil, maple syrup and gluten free oats.Image

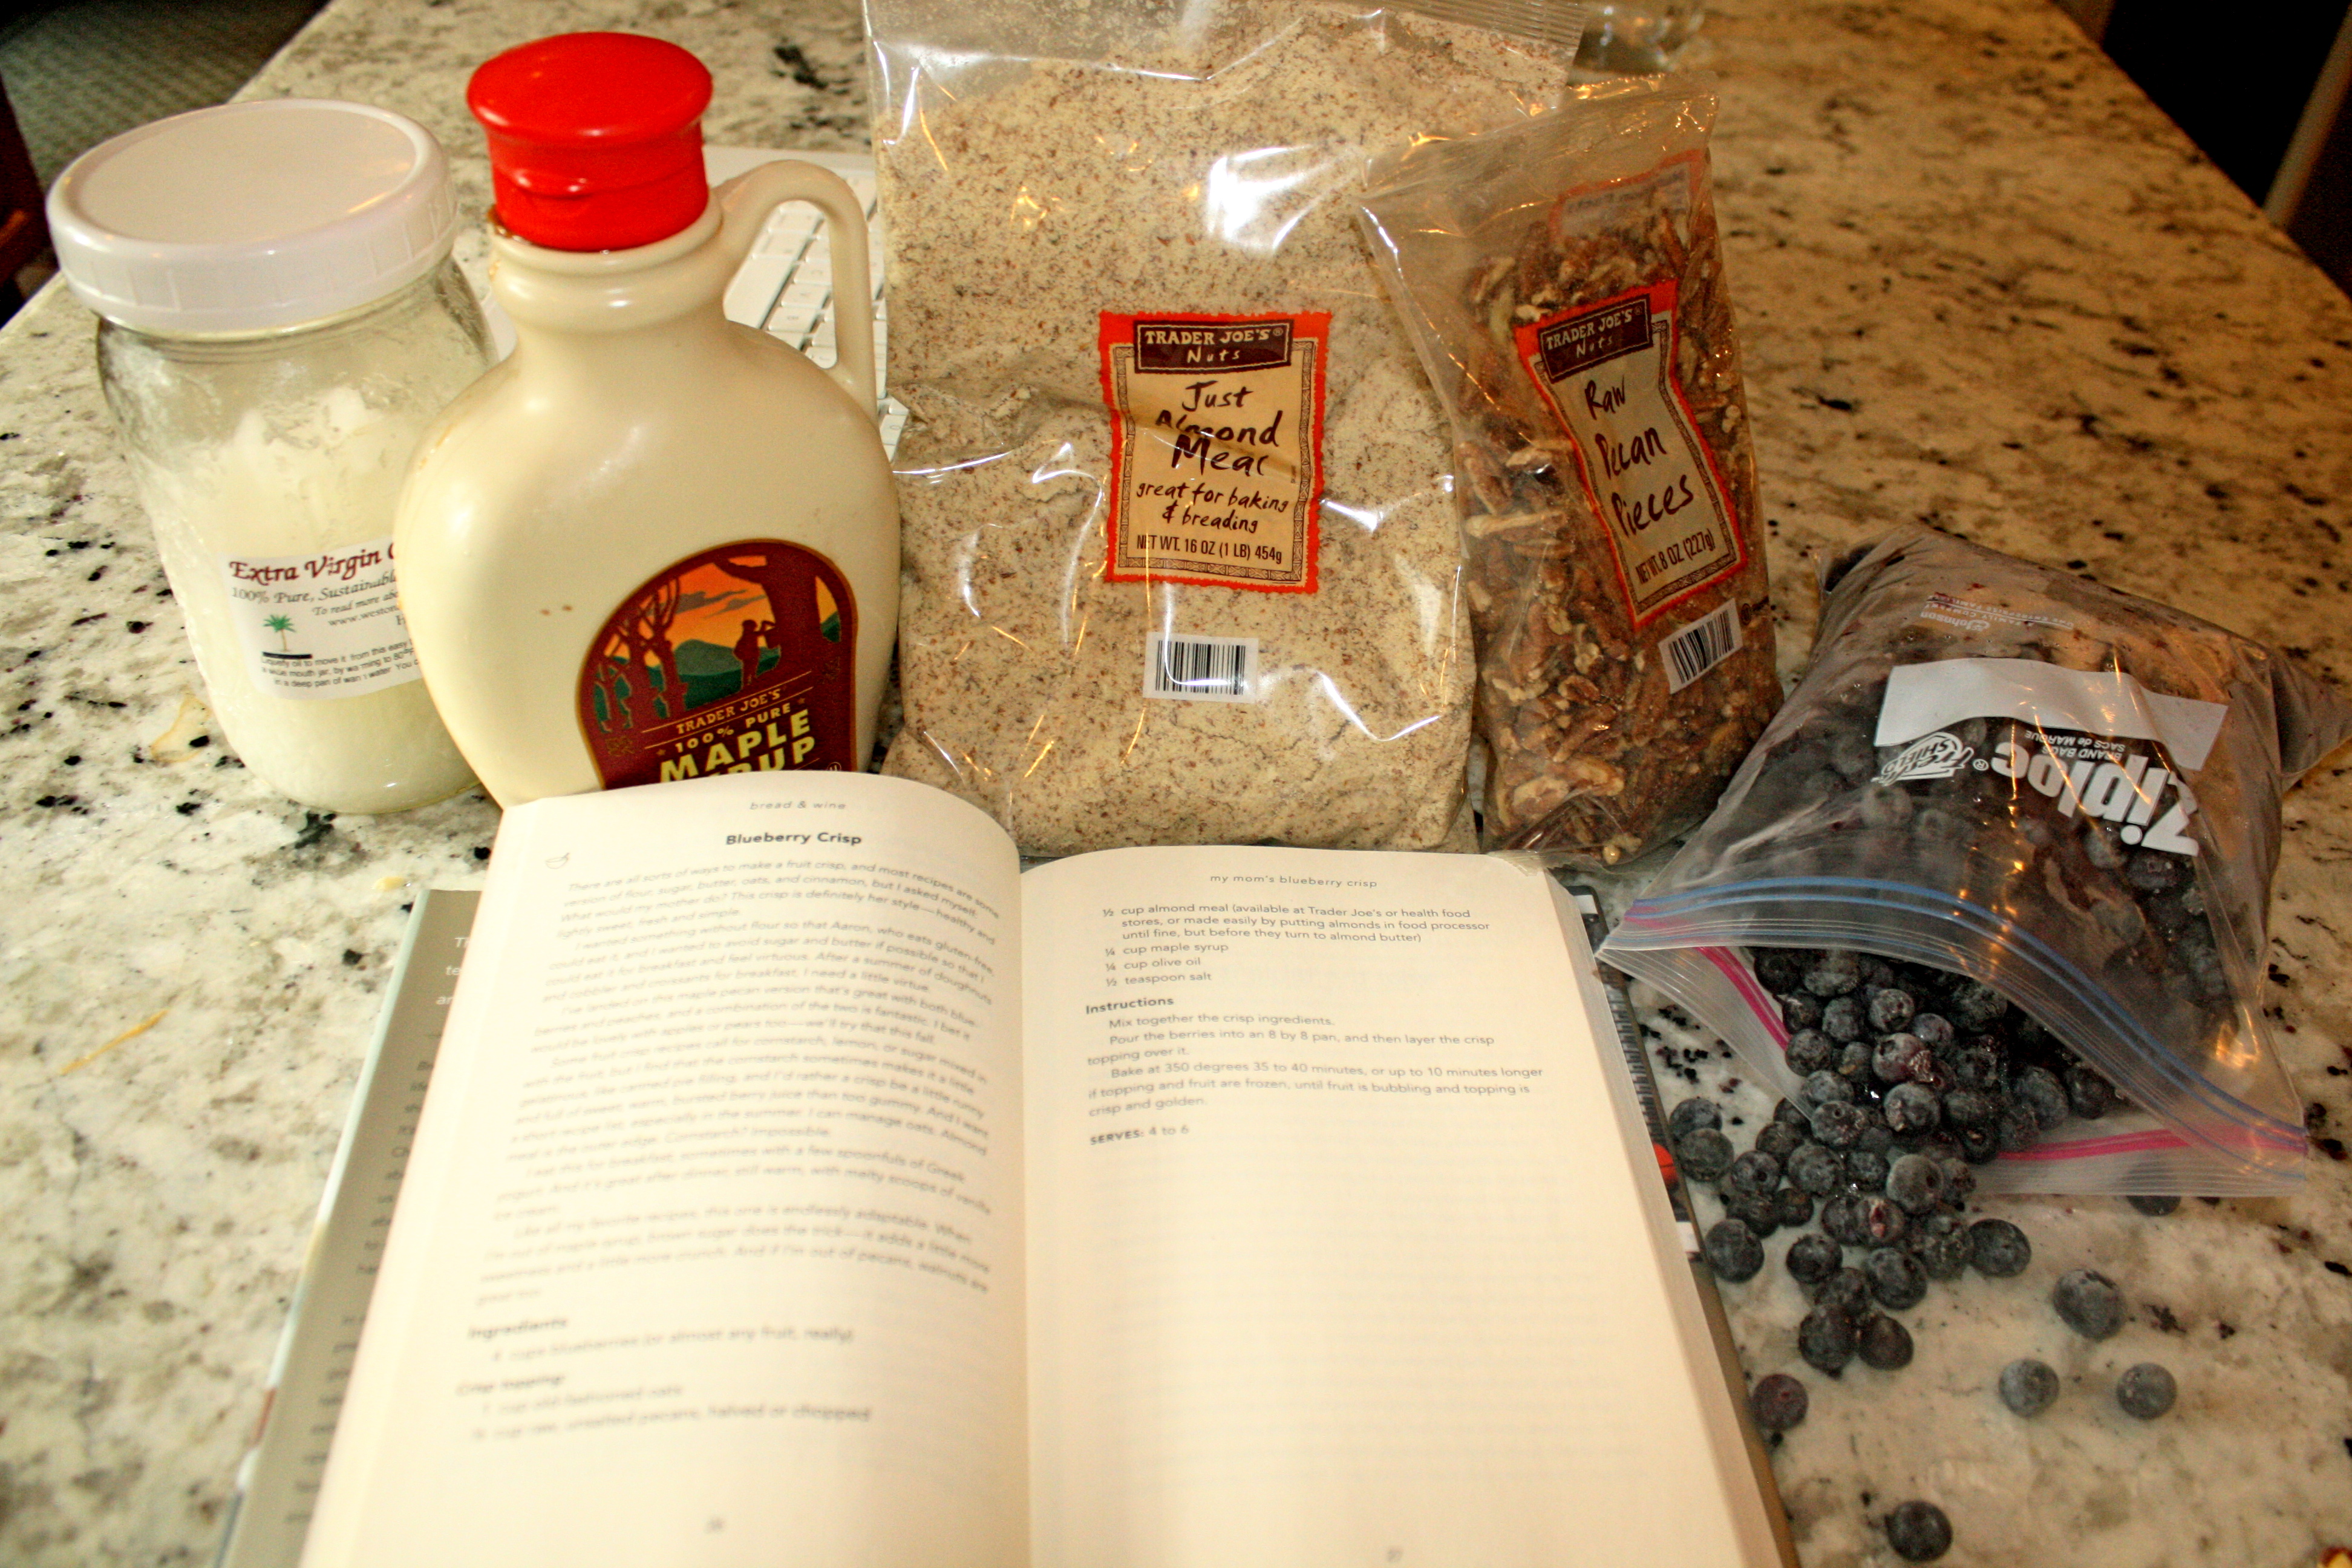
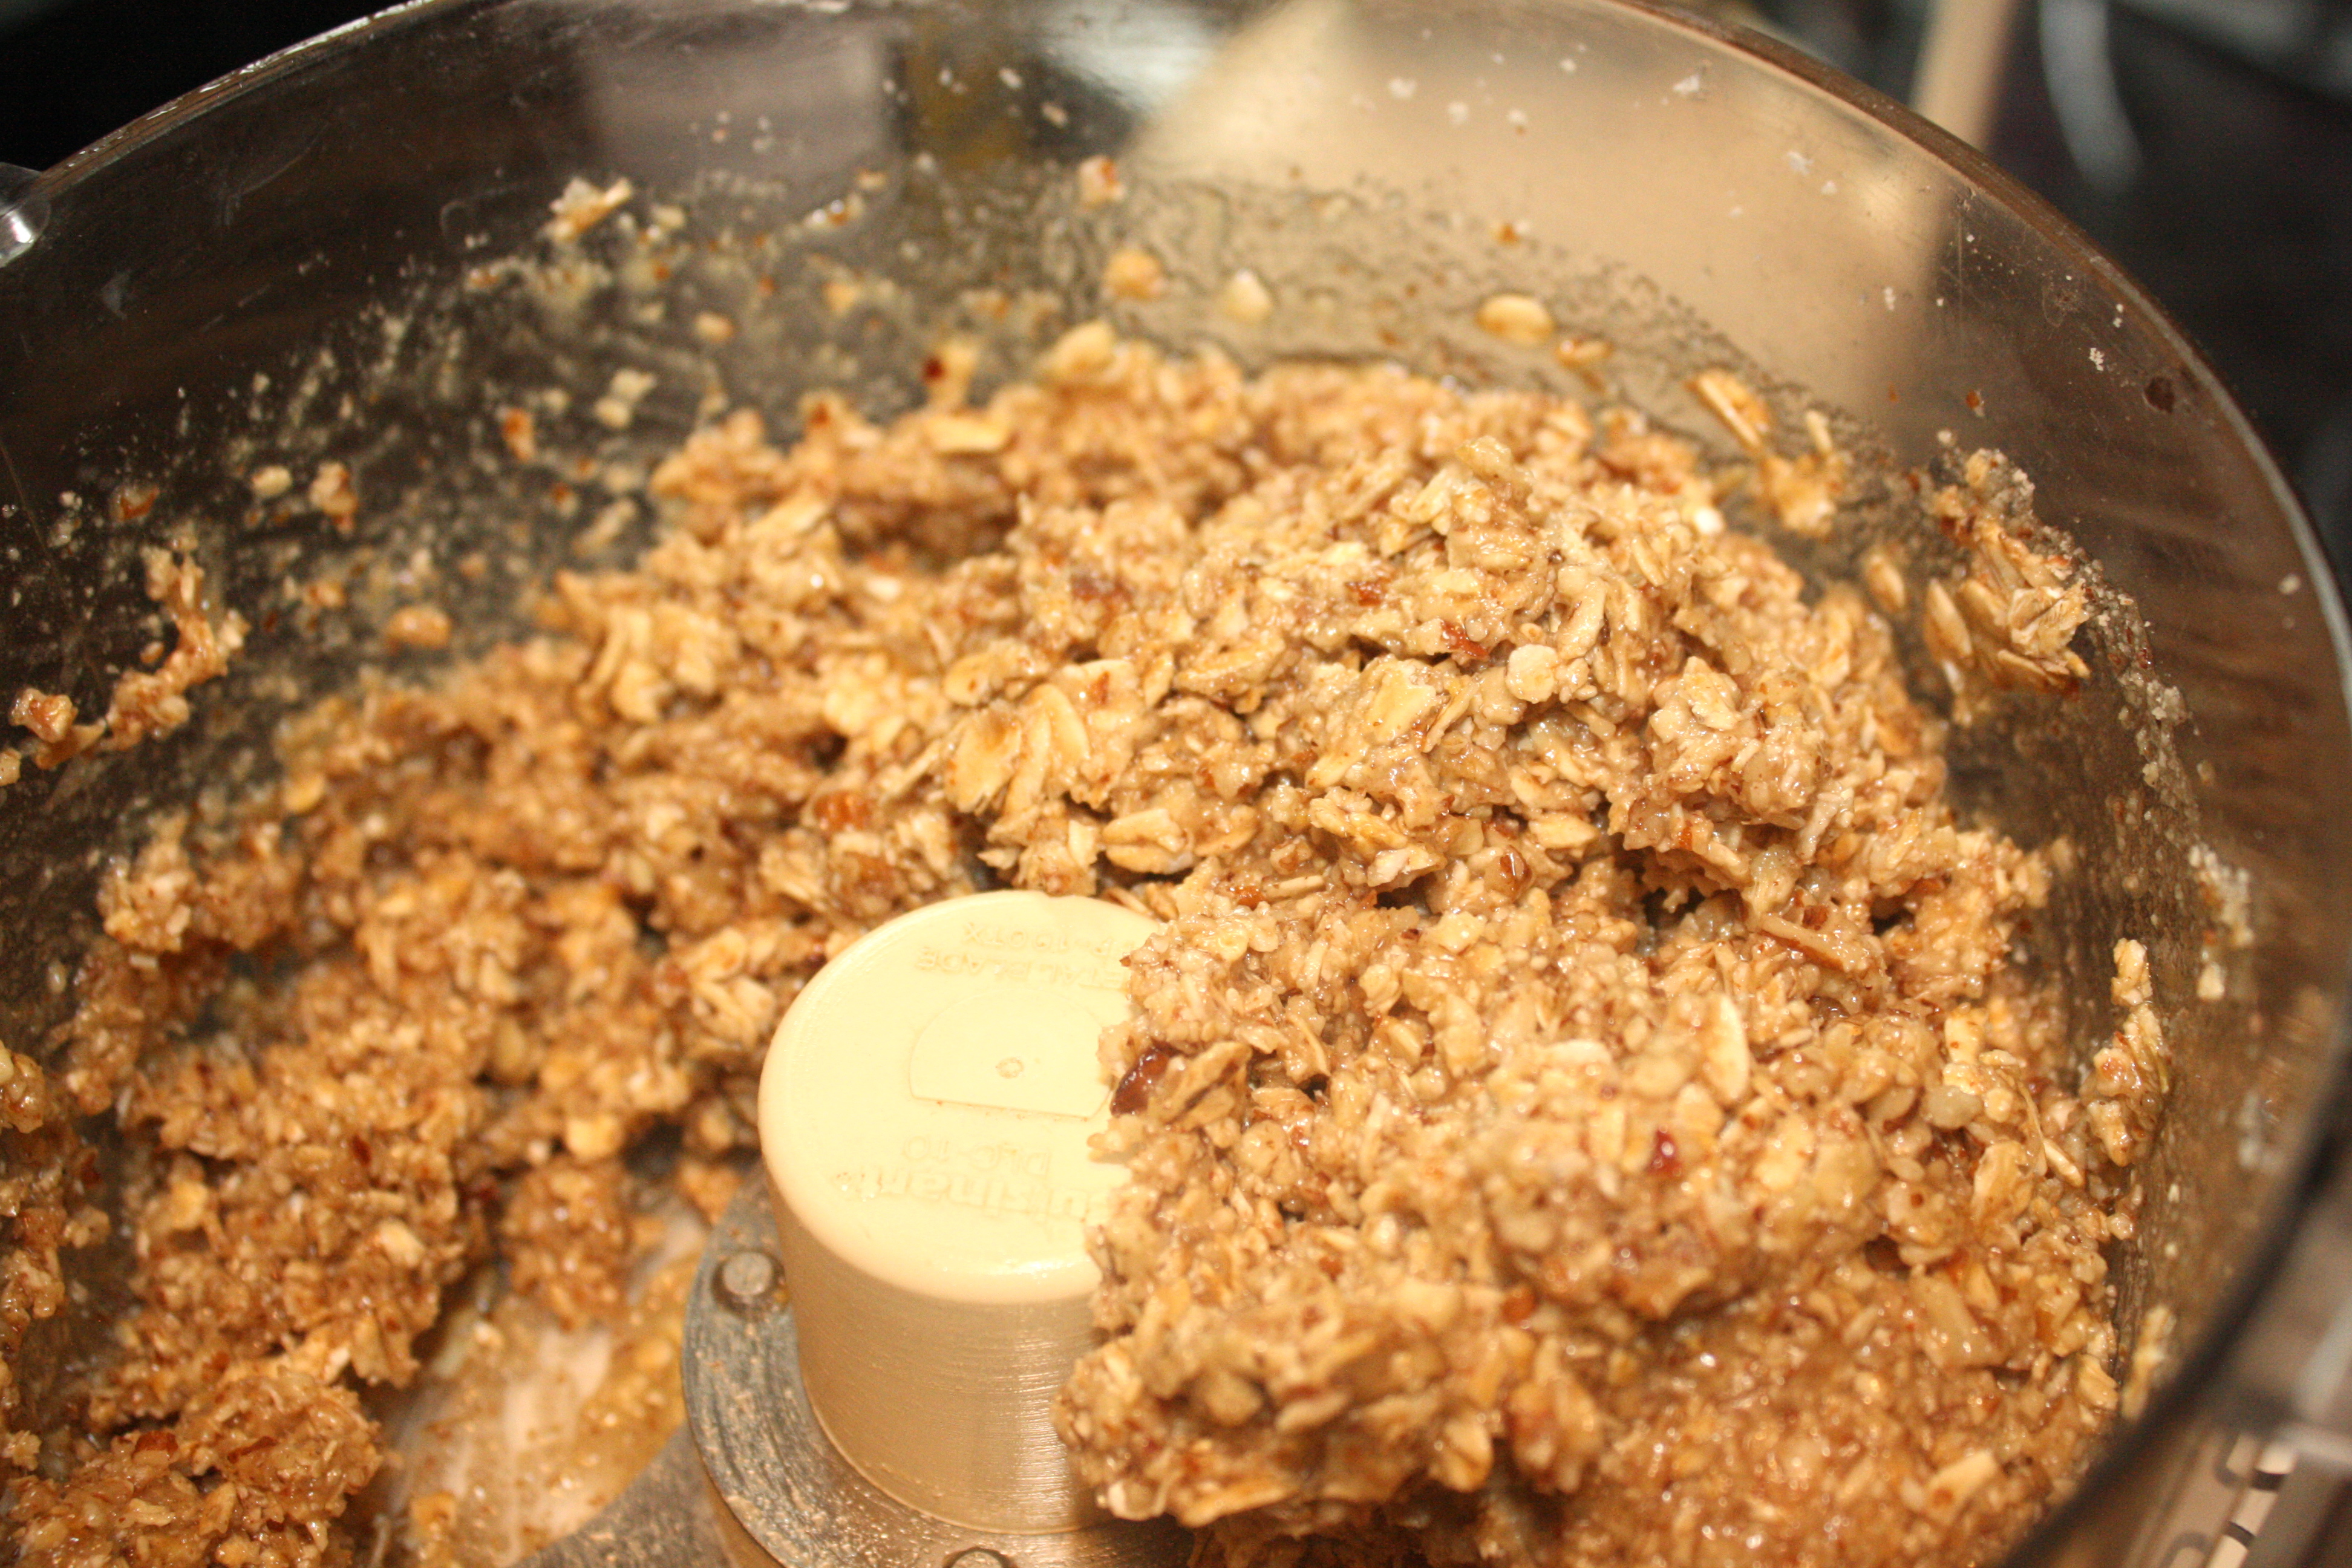
Pour the berries in an 8″ glass baking dish and then put all other ingredients in a food processor until everything is finely chopped and well combined.

Image

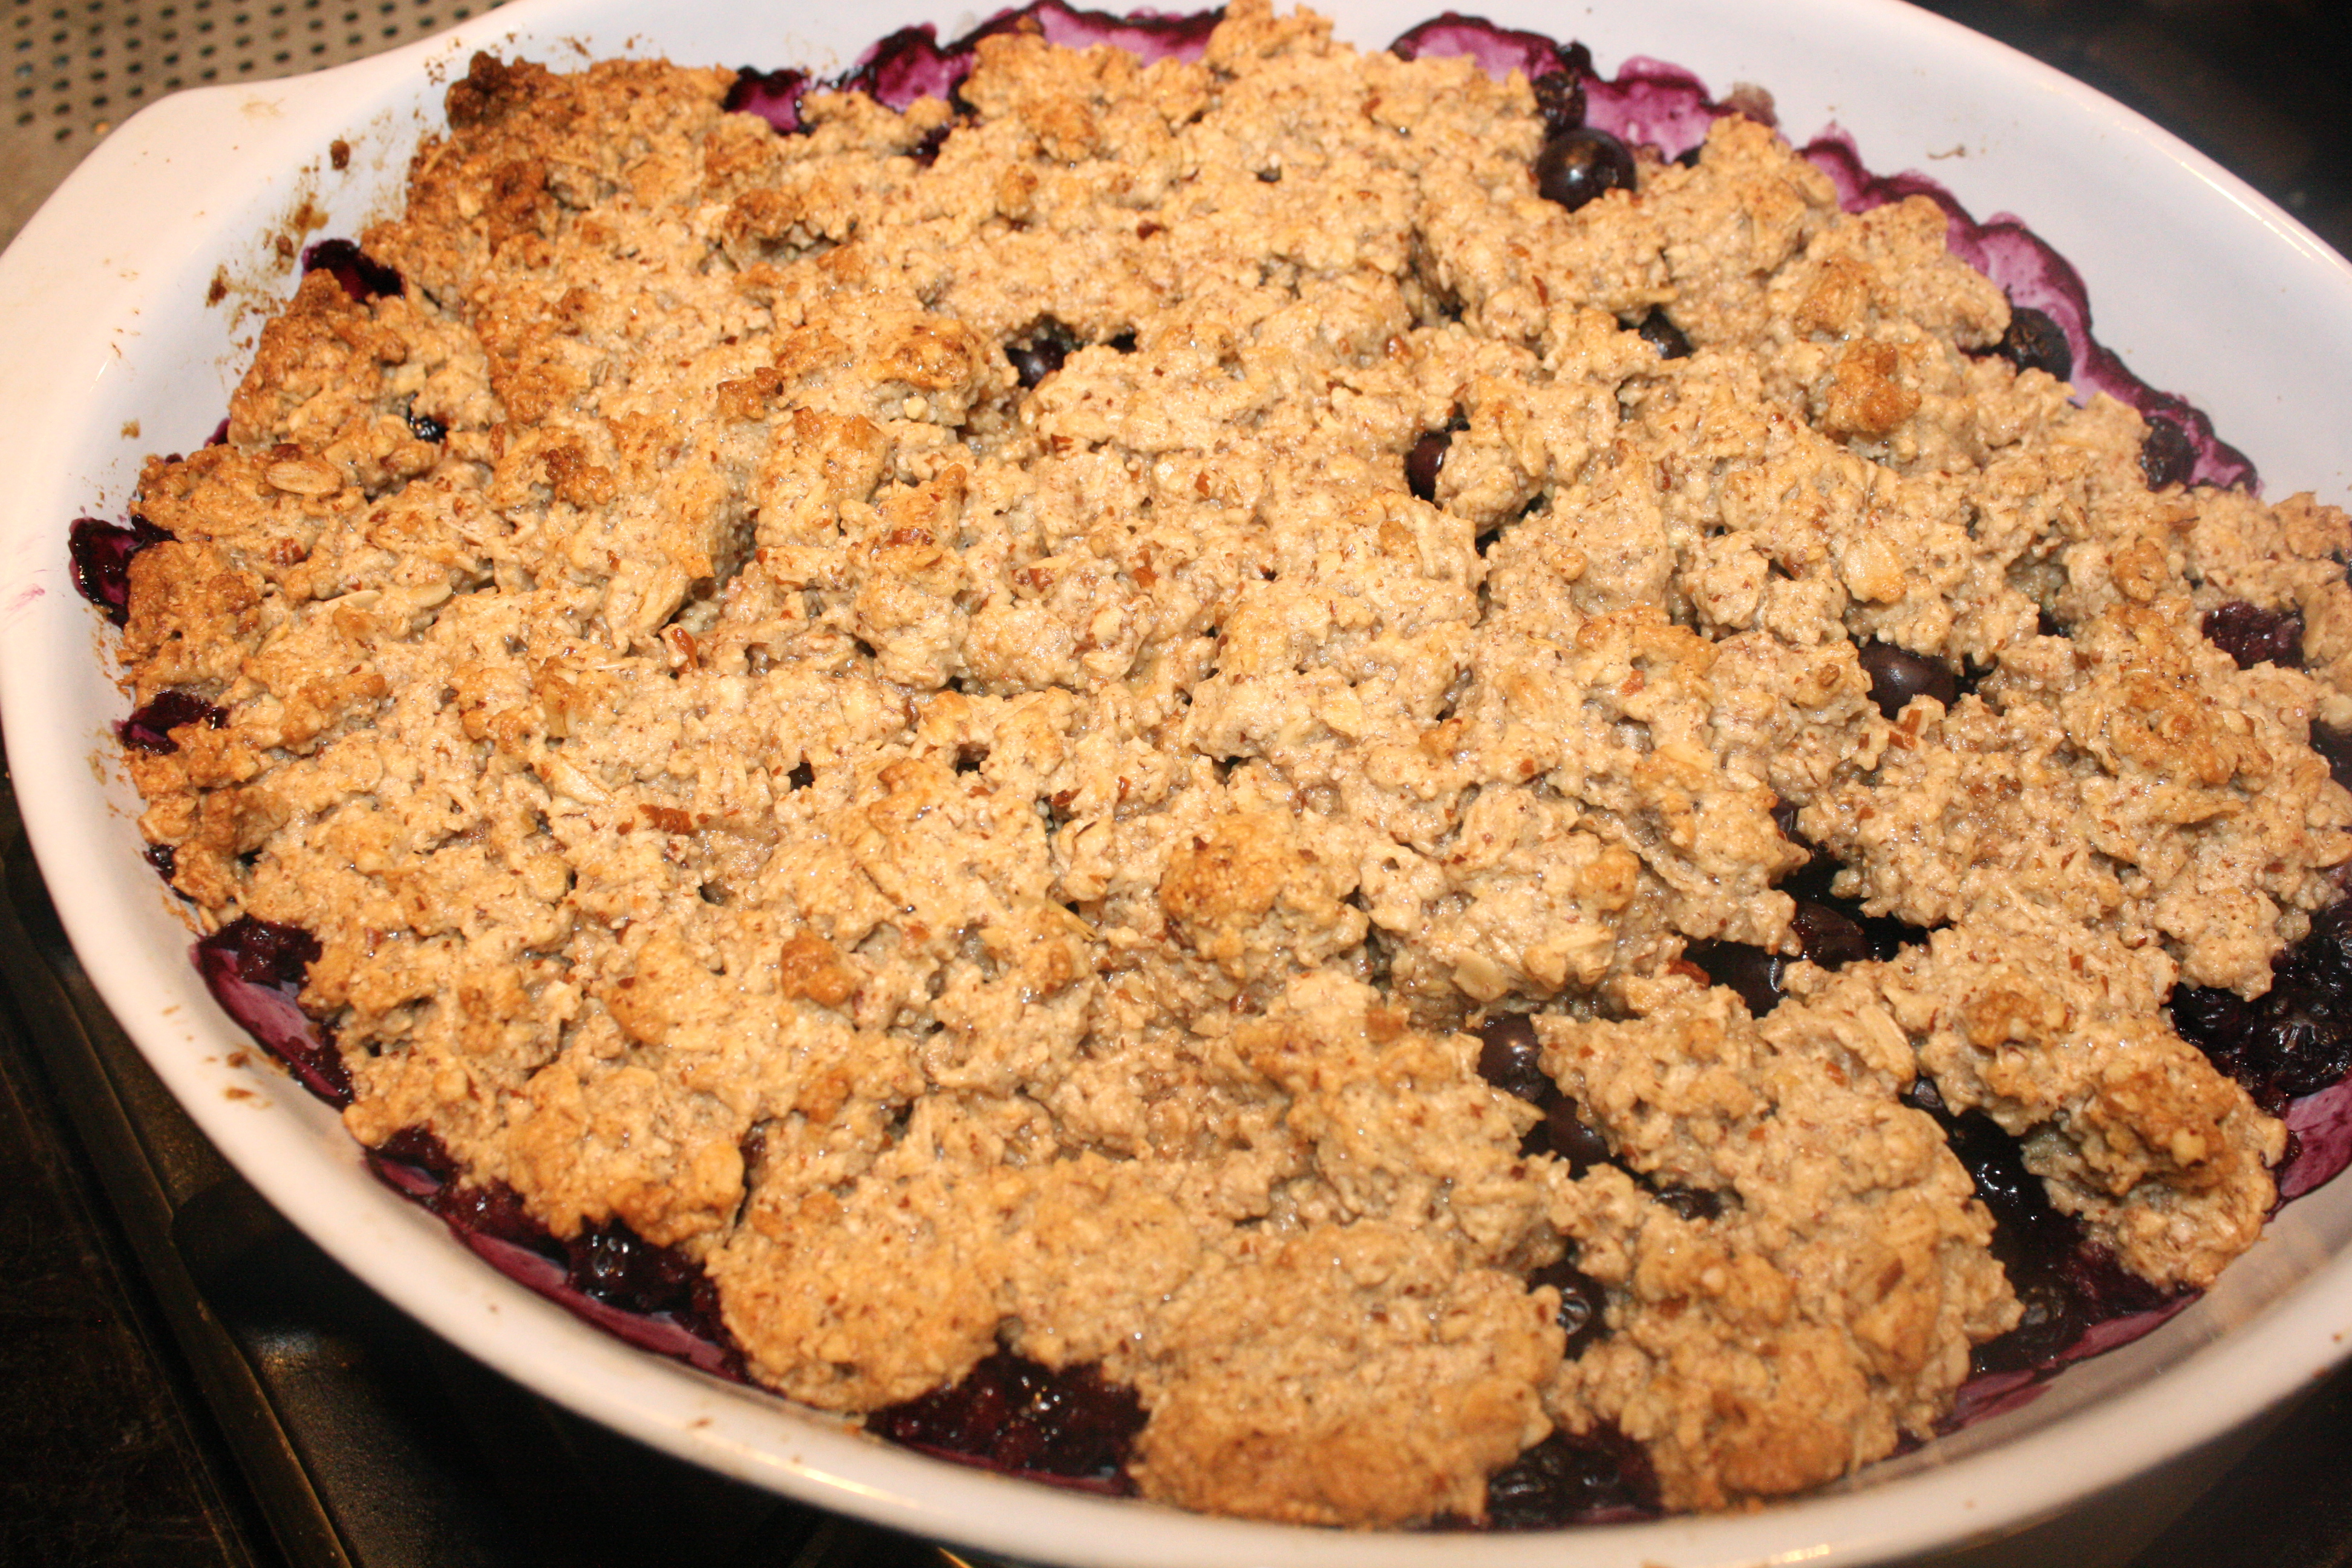
Spread the crisp topping over the blueberries and bake at 350 degrees for about 45 minutes or until the berries or bubbly and the crisp topping is golden brown.

Image

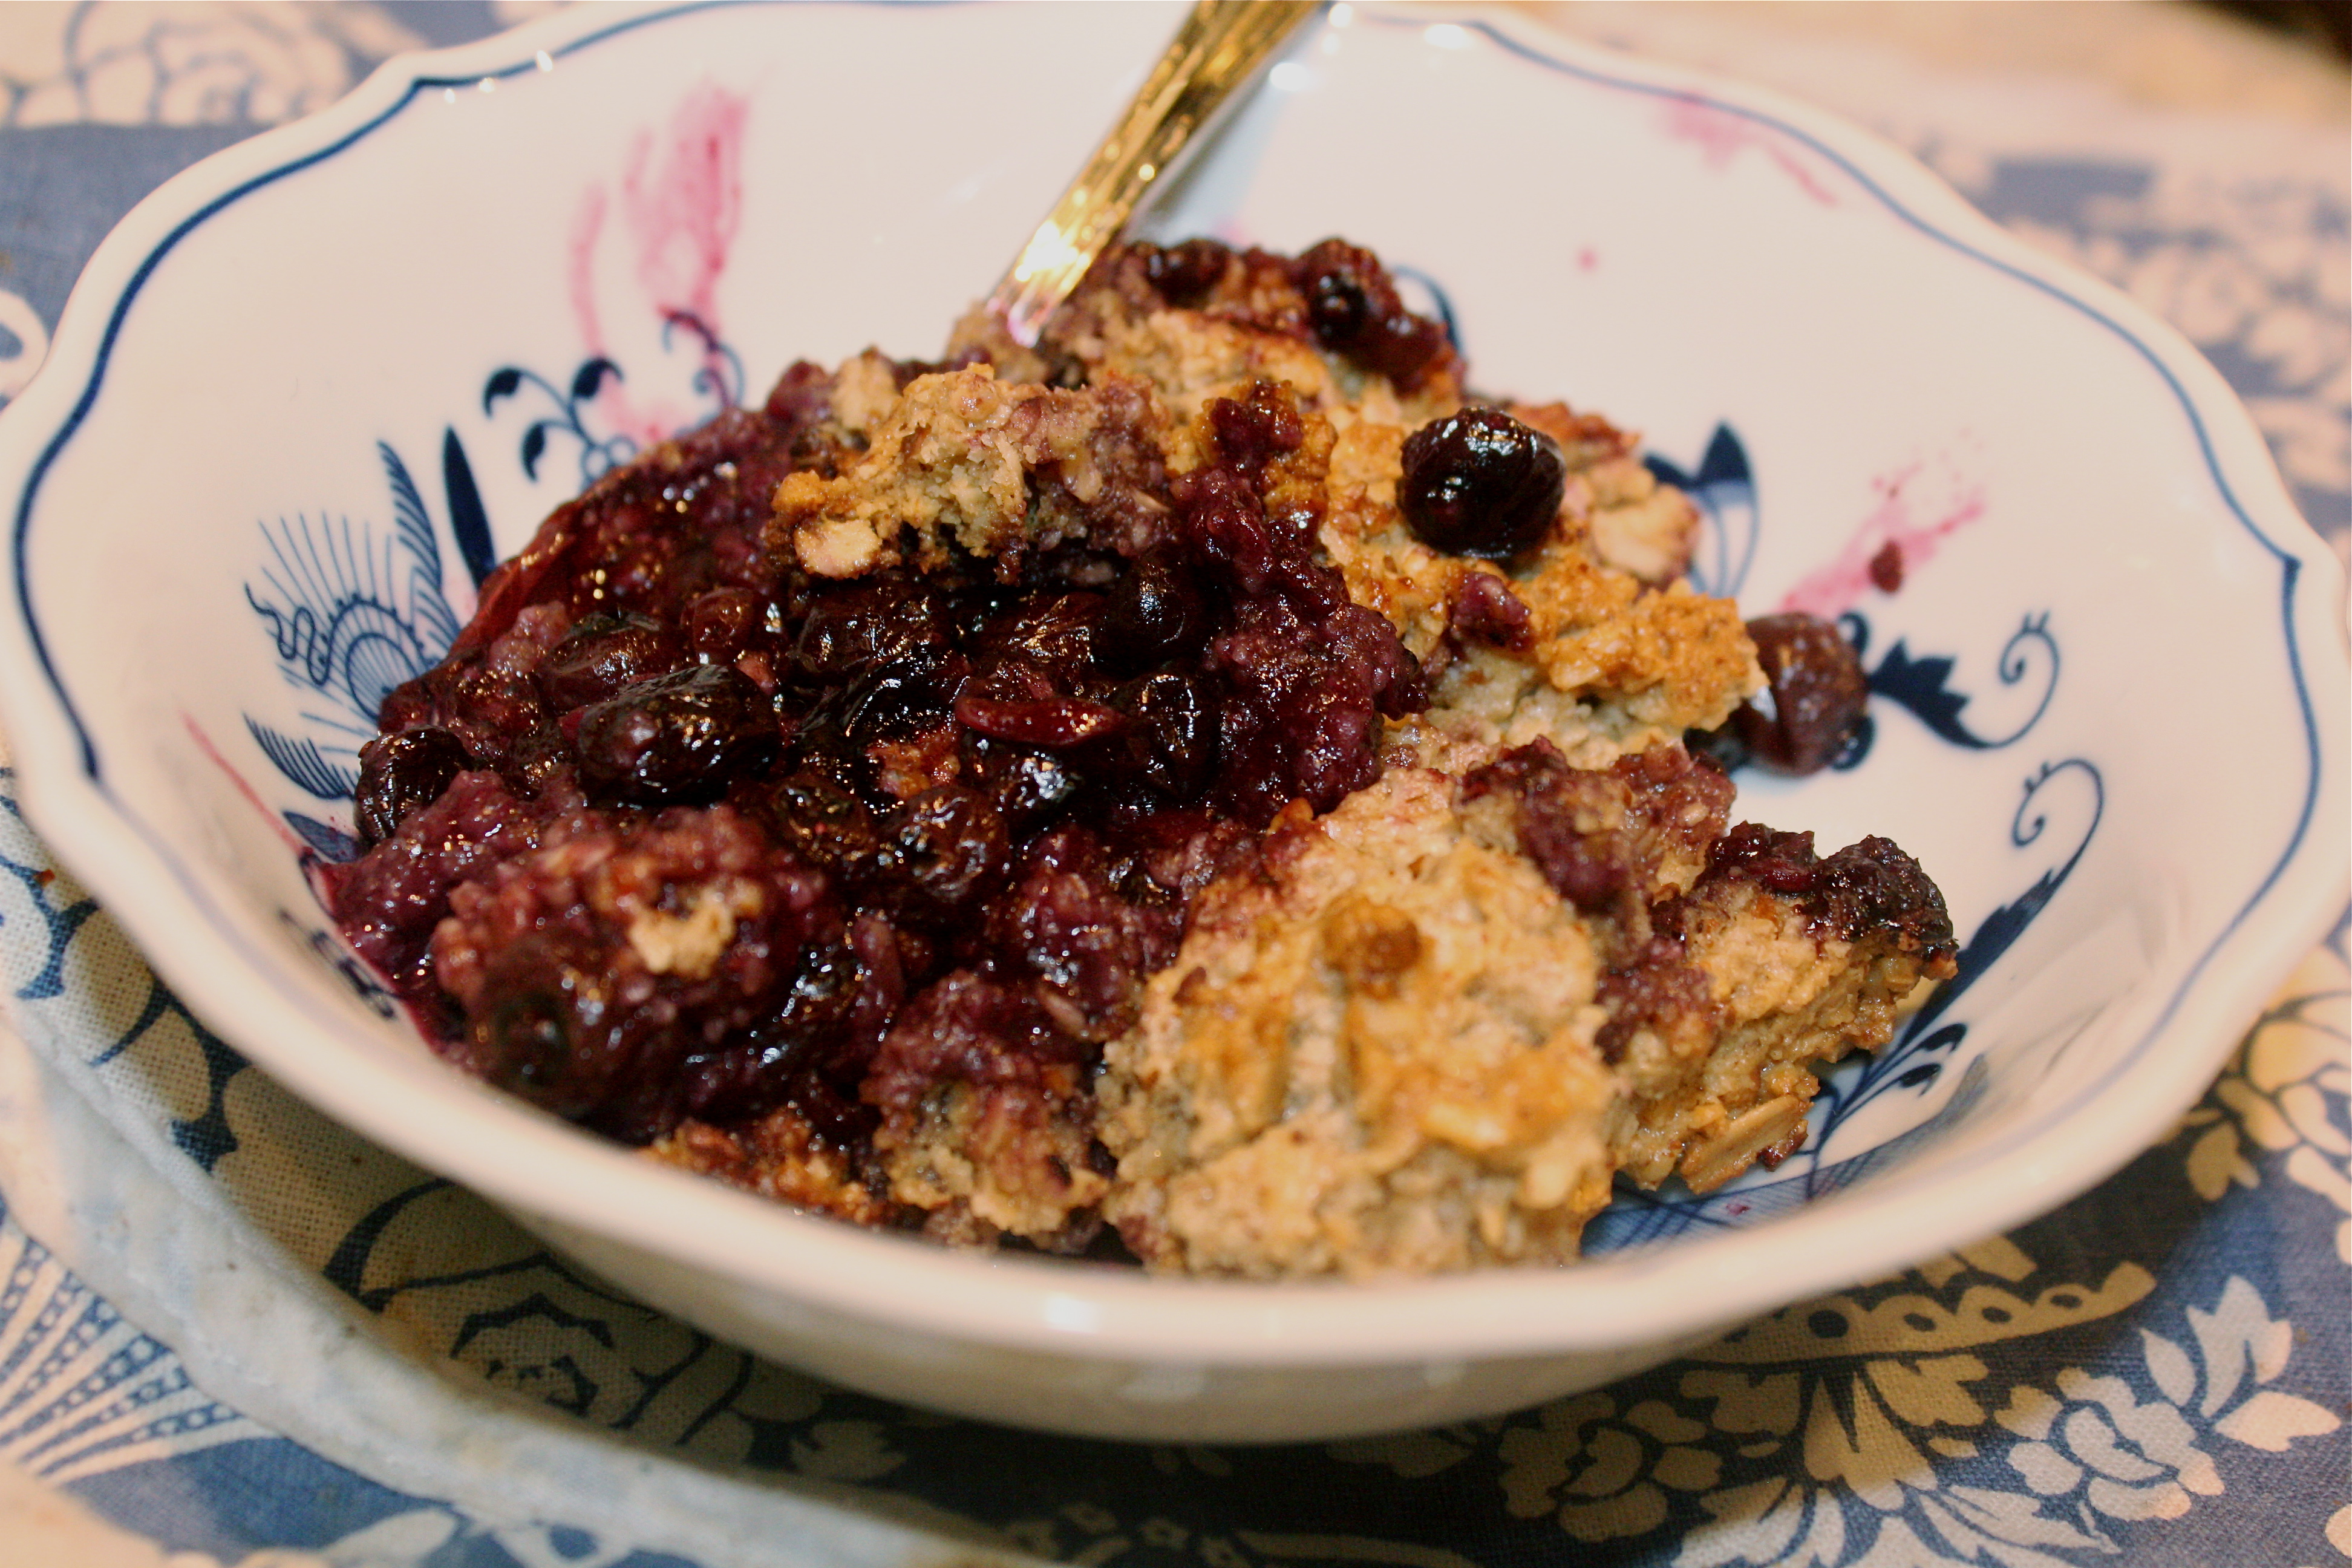
Enjoy warm or at room temperature, alone or with ice cream or yogurt.  Any way you slice it, it’s delicious!

Image

Blueberry Crisp (adapted from Bread and Wine by Shauna Niequist)

Ingredients

4 cups blueberries

1 cup gluten free oats

1/2 pecans

1/2 cup almond meal

1/4 cup maple syrup

1/4 c coconut oil

1/2 tsp salt

Directions:

Preheat oven to 350 degrees.  Pour blueberries into an 8″ pan.  Place all other ingredients in a food processor and pulse until finely chopped and well combined.  Spoon the topping over the blueberries and bake for 45 minutes or until the berries are bubbly and the crisp is golden brown.  Serve warm or at room temperature.

Caramelized Peanut Butter Banana Ice Cream

My children are obsessed with ice cream…I mean OBSESSED.  They would eat it three times a day if I let them.  My husband blames this slight “problem” on me and between you and me, he’s probably right.  I saw this recipe on Roost Blog and jumped at the chance to potentially fool my children with an ice cream made out of bananas, very little sugar and protein-packed peanut butter.

Let’s be honest….calling this ice cream is a bit of a misnomer.  My husband compared it more to a frozen cookie dough consistency.  It is rich and decadent and best enjoyed in small portions.

You want to start with very ripe bananas.  The riper the better.  Mine were not as ripe as they should have been, but I was just working with what I had.  Slice the bananas and then toss them in a mixture of honey (or agave for the vegan) and melted coconut oil.  Spread them out over a piece of parchment paper and roast at 350 for about 30 minutes.

Image

After 30 minutes, the bananas will be caramelized and fragrant (reminded me of banana bread).

Image

While the bananas are still warm, pour the bananas and all of their juices into a glass bowl and add 1/2 cup smooth peanut butter.  Blend the mixture together with an emersion blender until very smooth.

Image

Pour the mixture into a container and put in the fridge for 20 minutes.

Image

At this point your ice cream is technically done, but I felt it was absolutely crucial to add some dairy free mini chocolate chips.   You can skip this step if you are aren’t a chocolate lover (do those even exist?) and just keep the ice cream in the freezer for another several hours.  If you choose to add the the chips, take the ice cream out of the freezer after about 20 minutes or when the ice cream is just cool enough not to melt all the chips.  Gently fold in about 1/2 cup chocolate chips.  Return to the freezer for several more hours.

Image

Use an ice cream scoop that has been dipped in warm water to scoop the ice cream and enjoy!

Image

Caramelized Peanut Butter Banana Ice Cream

Ingredients:

8 very ripe bananas

6 tbsp honey

3 tbsp melted coconut oil

1/2 cup smooth peanut butter

1/2 cup dairy free chocolate chips (optional)

Directions:

Preheat the oven to 350 degrees. Slice the bananas and put them on a cookie sheet lined with parchment paper.  Mix the honey and melted coconut oil and pour over the bananas.  Toss gently to coat.  Roast the bananas for 30 minutes until fragrant and caramelized.  Pour the warm bananas in a bowl and add 1/2 cup peanut butter.  Blend with an emersion blender until very smooth.  Place in the freezer for at least three hours or overnight and stir in the chocolate chips after 20 minutes if desired.

My Very Favorite Moisturizer

    I had my first child back in 2010 and while I was pregnant, I started looking at the ingredient list on my product bottles and thought, “Uhhh…what is this stuff?  Ethyl-para-what???”   There had to be something better I could rub into my expanding belly without all these ingredients I couldn’t pronounce.  So, I grabbed a bunch of different oils and started experimenting.   This recipe has sort of evolved over the last few years and I now have two versions: a body butter (ideal for pregnant bellies or seriously dry skin) and body oil (ideal for the rest of us).  Today I’ll share the body oil version, because seriously, you will love it.  I think its the perfect blend of nourishing oils that soaks into your skin quickly without leaving a greasy residue.  Winter usually leaves my legs looking like some sort of scaly swamp animal, but this stuff really does the trick.  I apply it right after I hop out of the shower and the next day my legs are still soft and smooth.  It’s also a great shaving oil and eye make-up remover. I’m pretty sure you need to try this for yourself!

Ok, here’s what you’ll need for an 8oz bottle:
  • 4 oz grapeseed oil
  • 1 oz coconut oil
  • 1 oz almond oil
  • 1 oz plant butter such as cocoa, shea or mango
  • 1 oz jojoba oil
  • a few drops of vitamin e oil (optional, but great as a natural preservative).
  • 10-15 drops of an essential oil of your choosing (optional– I usually opt for the unscented version).
Melt coconut oil and plant butter in a double boiler.  Mix in the rest of the ingredients and pour into an 8 oz container.