Chocolate Cherry Chunk Cookies

  Well folks, I back from a lengthy hiatus due to this precious little gem that joined our family on April 16th:

Image


Little Ben totally lights up my life and is such a bundle of joy.  Our family praises God for such a precious gift and we are all totally in love.   But, as much as I’d like to think you came to drool over the baby, I’m guessing you’re here for the food.  So let’s talk cookies!

Image

   Now and again I have a craving for a really good cookie.   You know the kind I’m talking about…chewy, moist and loaded with chocolate.  The problem is that most of the cookies I’ve tried that use gluten free flour have been sort of lackluster, dry and grainy.  Little did I know that the secret to a delicious gluten free cookie was not to use flour at all!  Instead, a base of almond meal creates a chewy and totally satisfying morsel of goodness.  I’ve made these cookies twice and my kids loved them.  The second time I made them, we shared them with friends and got equally rave reviews.   And a giant bonus is that they contain no dairy ingredients and are sweetened only lightly with honey.  It’s one of those rare healthy-ish foods that doesn’t taste healthy.  It’s also a flexible recipe and you can adjust the add-ins to your tastes.  These are definite winners in my book!

Image

Image


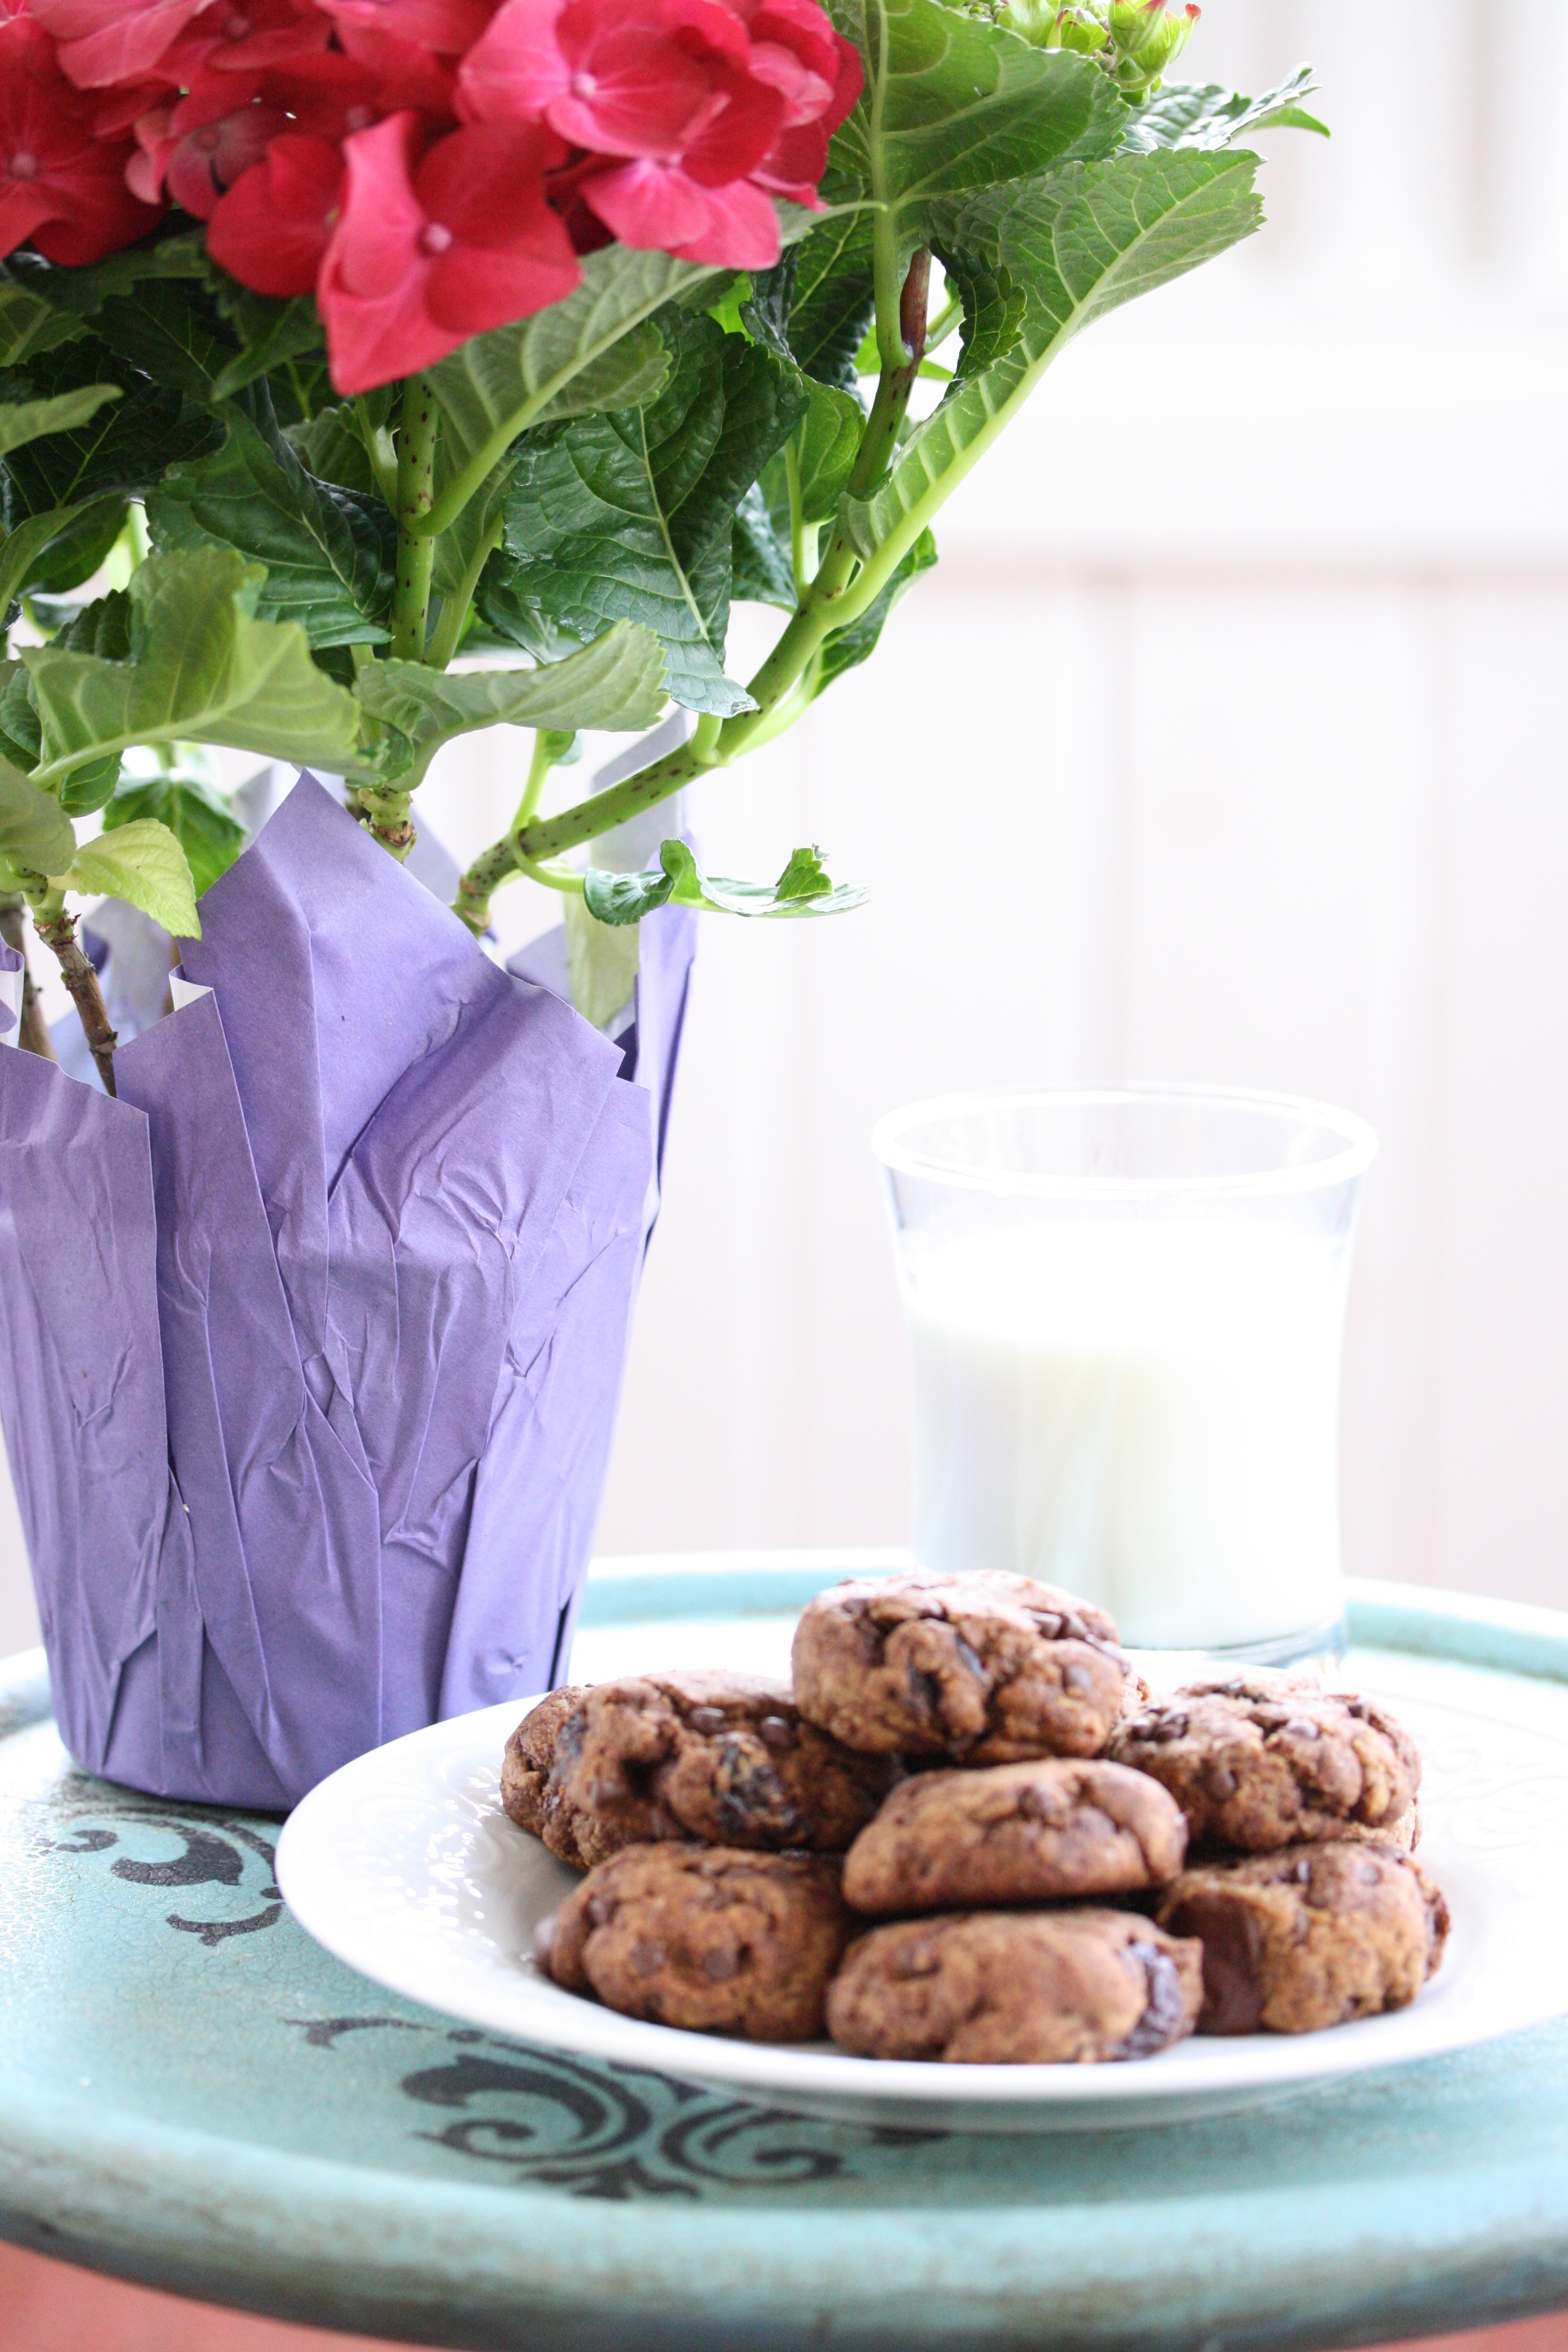
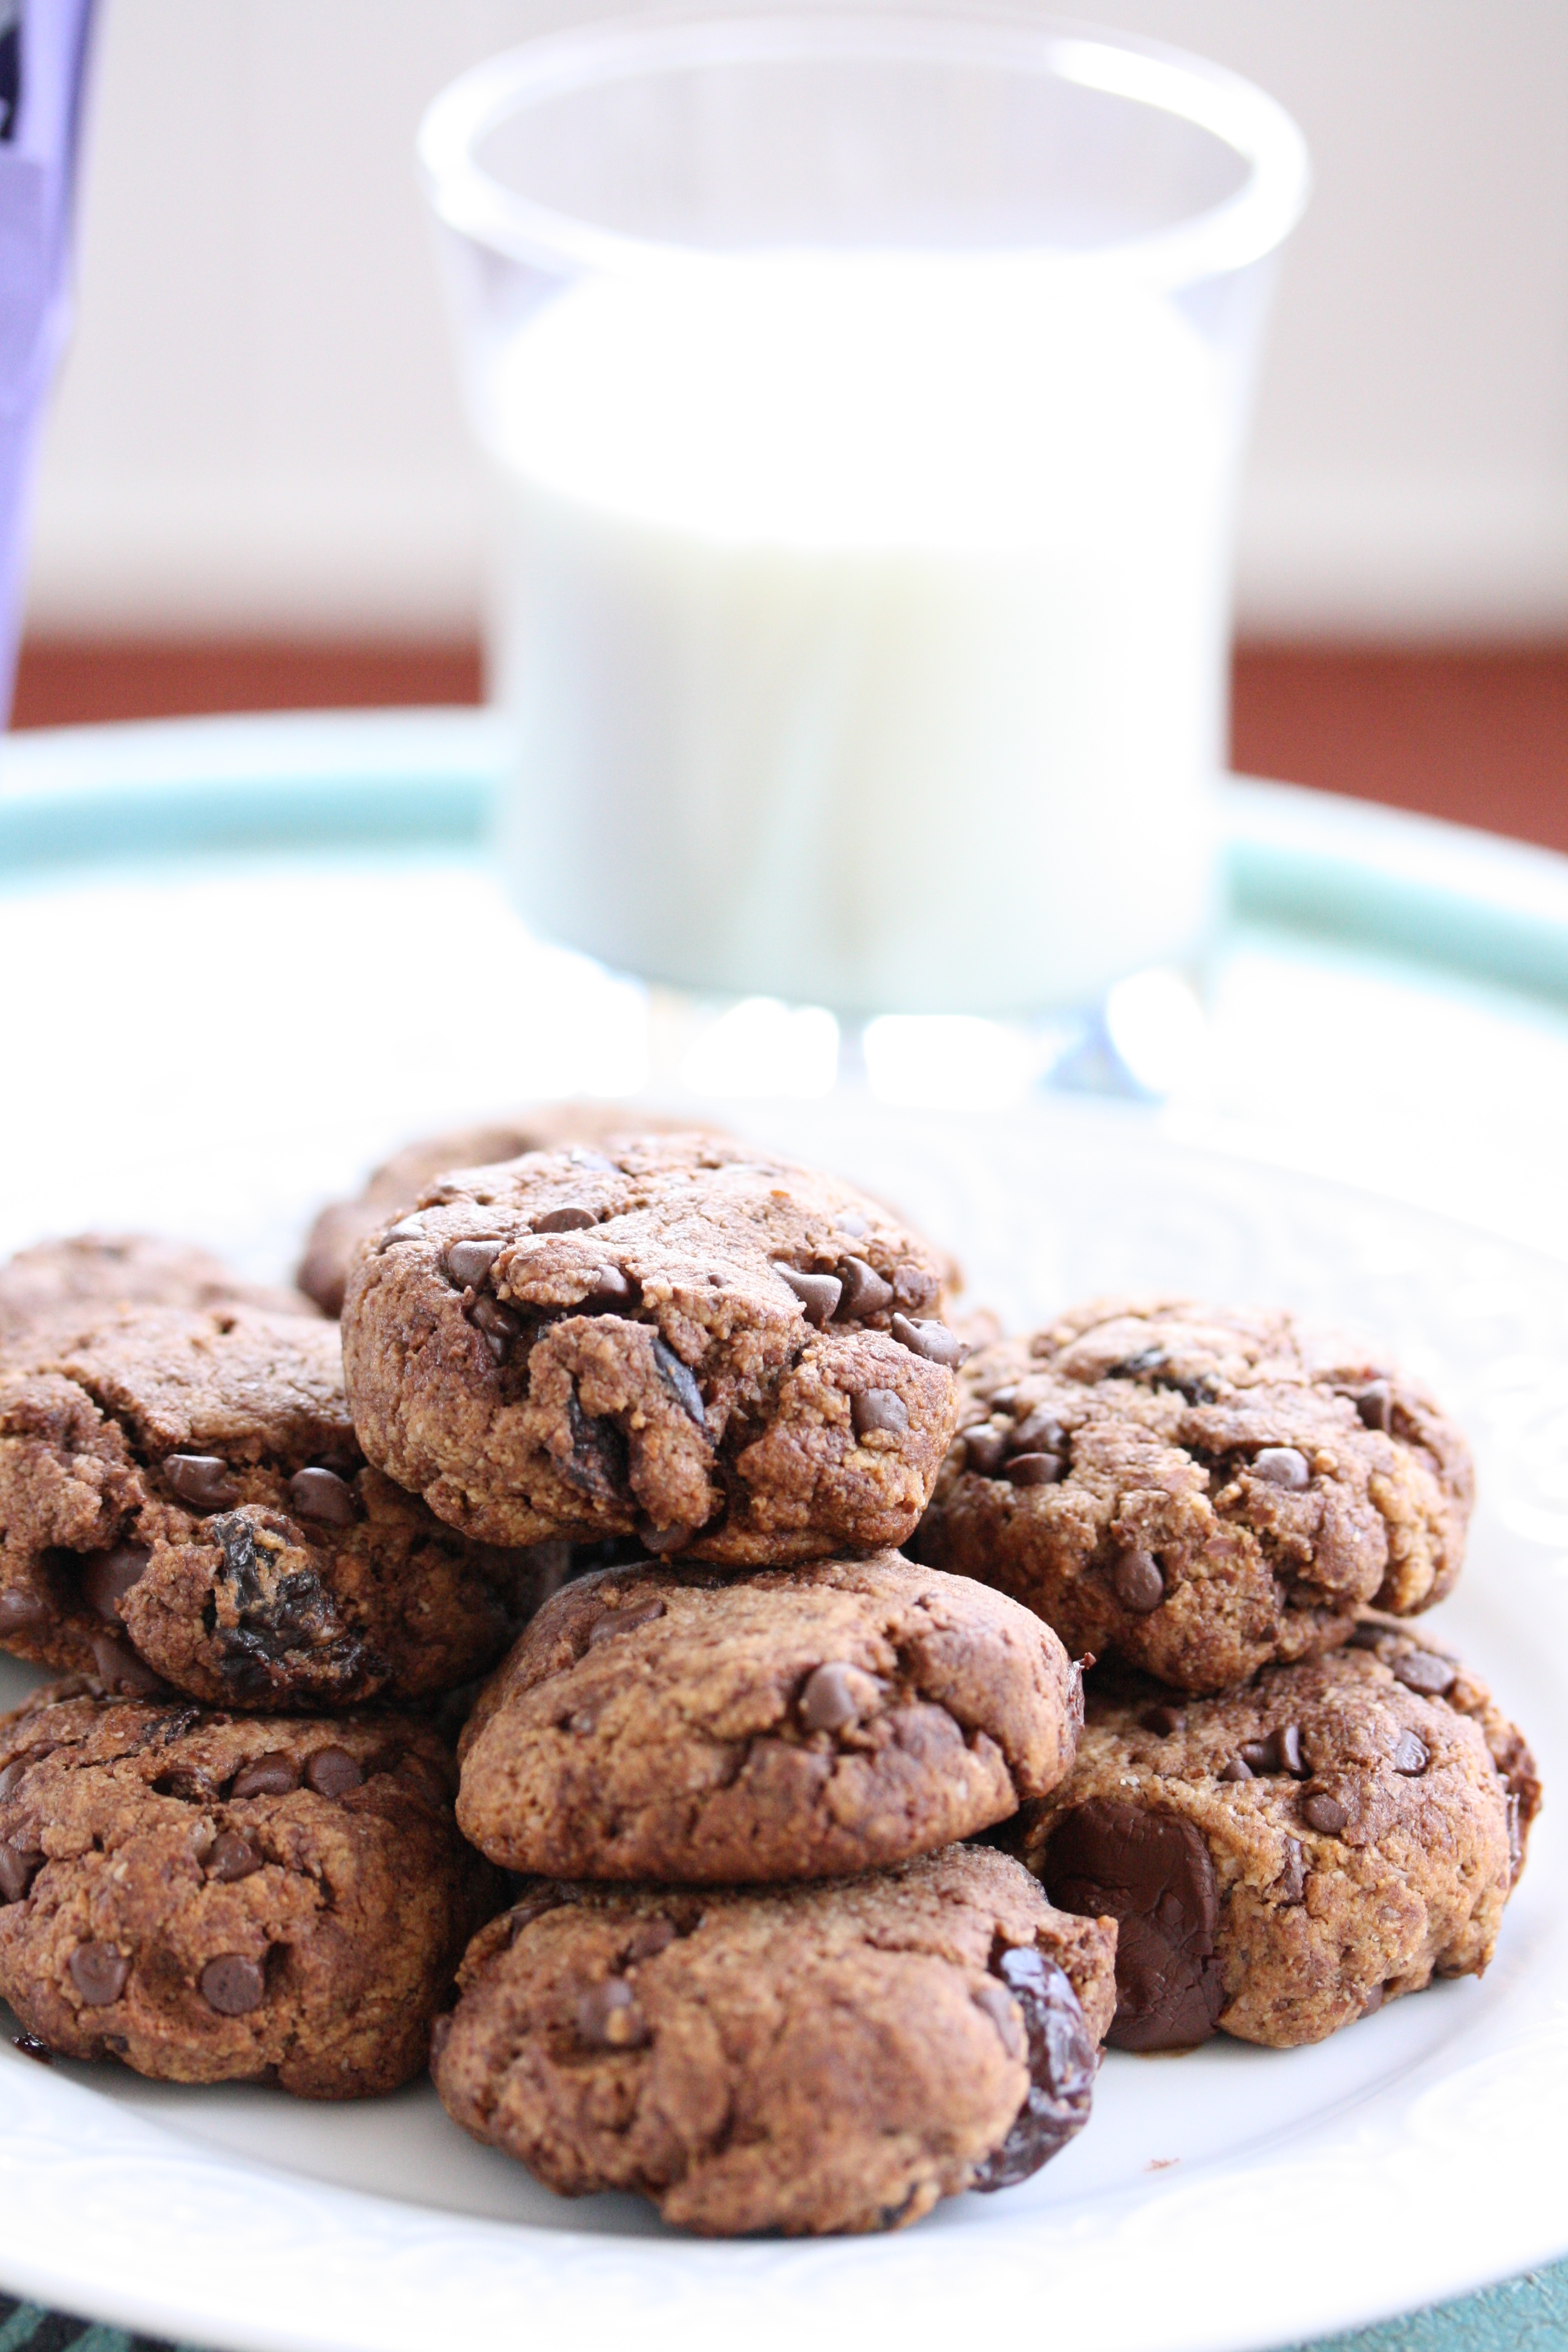
Chocolate Cherry Chunk Cookies (makes 2 dozen)

Ingredients:

3 cups almond flour, sifted

1 cup dark chocolate chips

1 cup dried cherries

1/4 tsp salt 

1/2 tsp baking soda

1/2 cup honey

1/3 cup cocoa powder

2 Tbsp melted coconut oil

1 tsp vanilla extract

1 egg 

Directions:

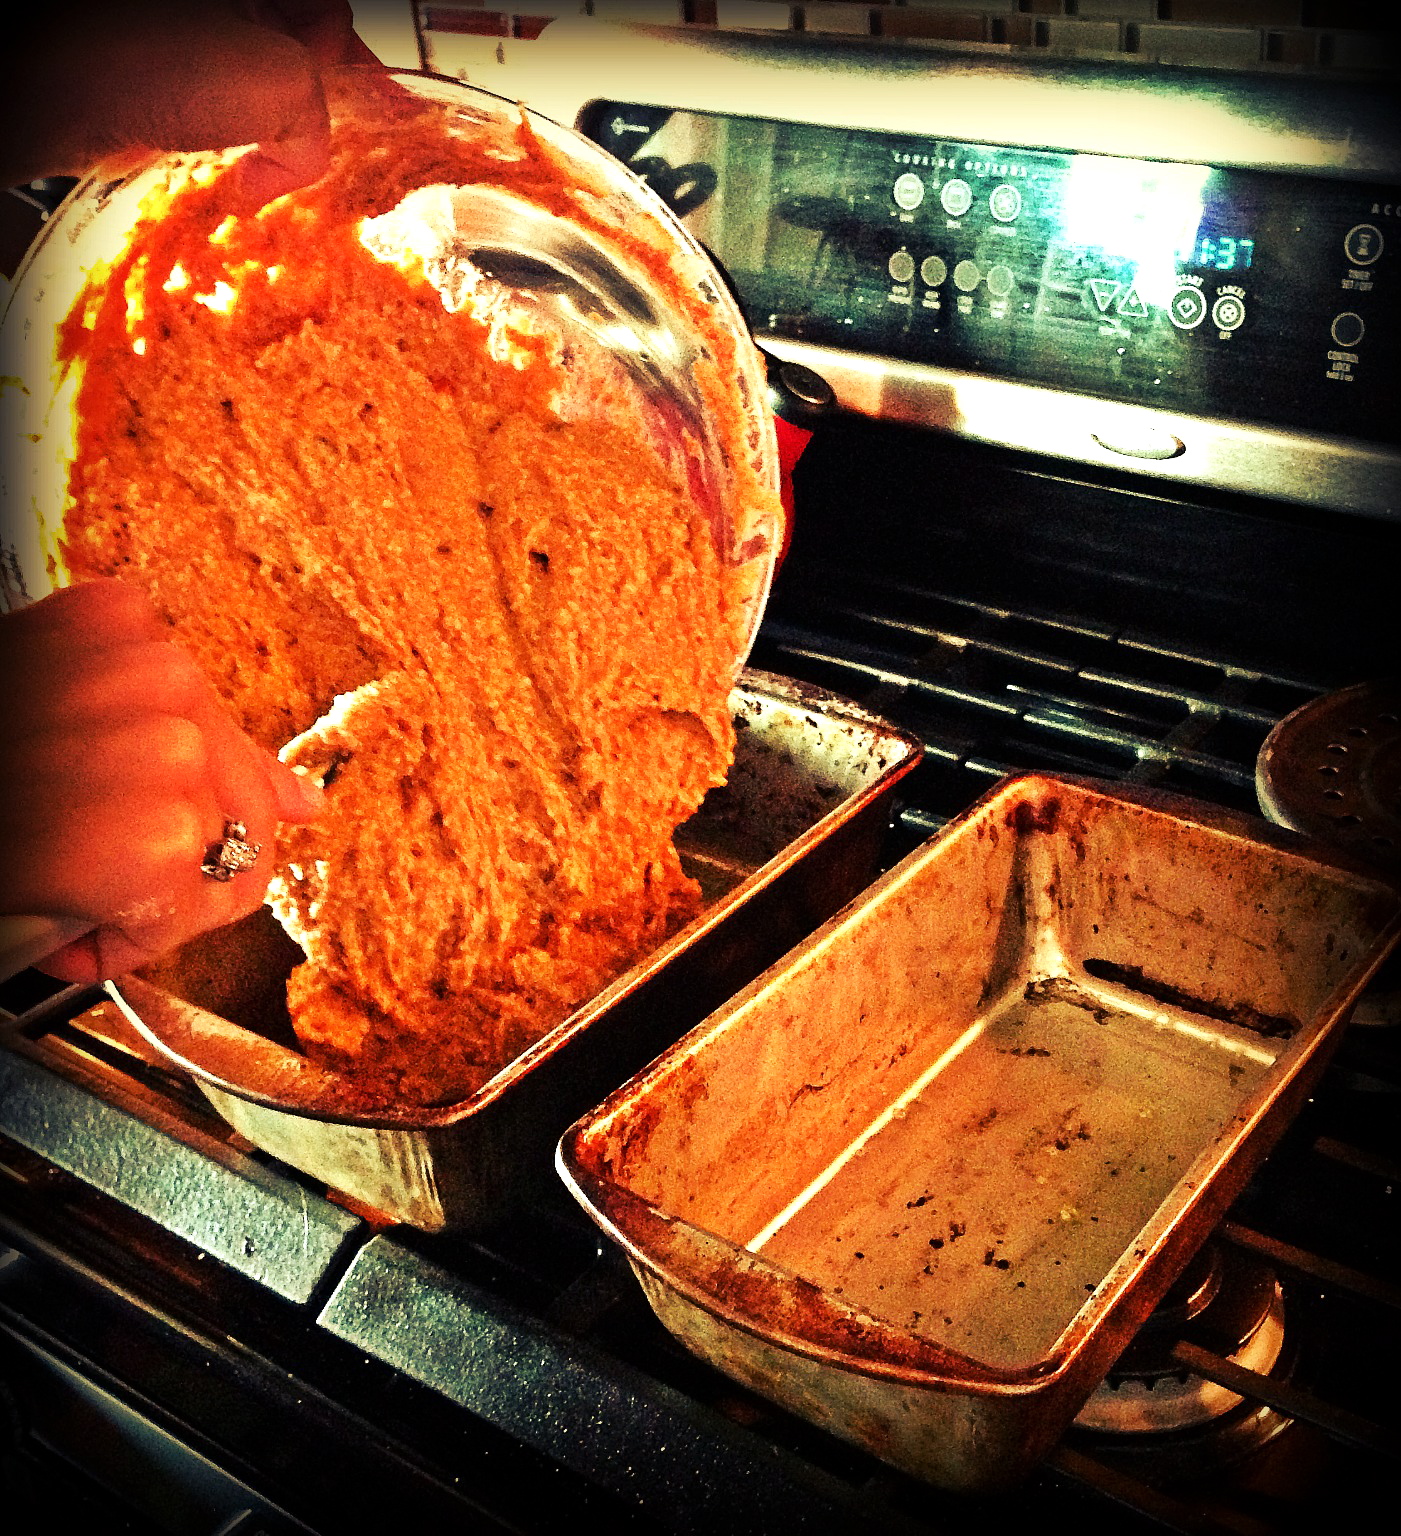
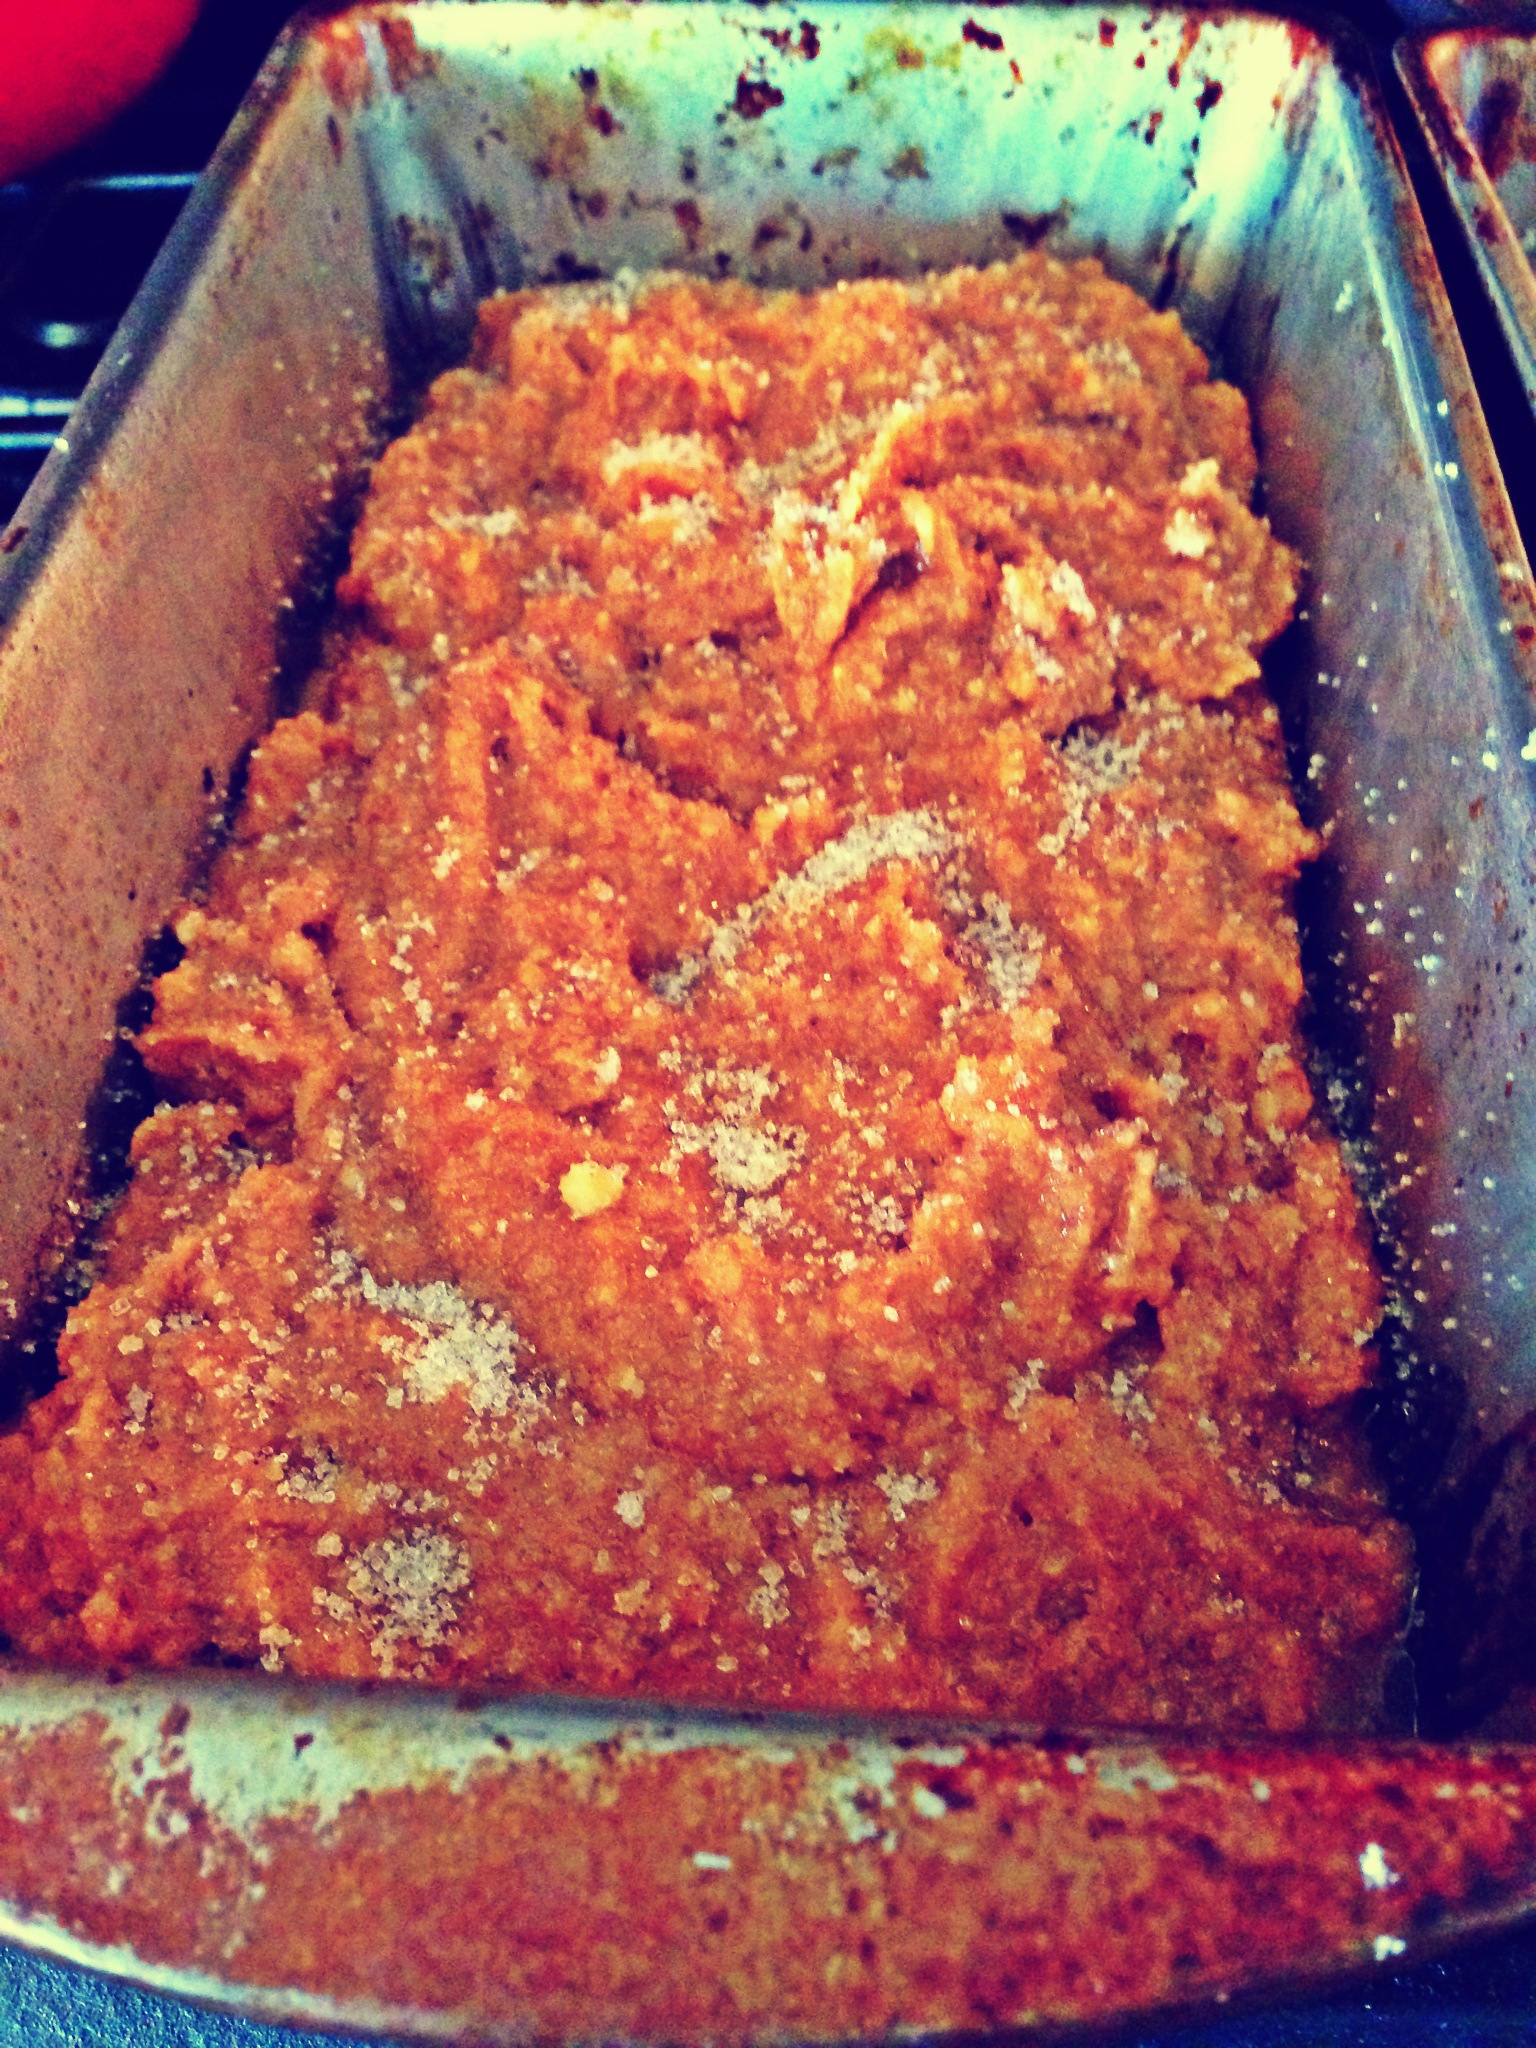
Preheat oven to 350 degrees.  Line a baking sheet with parchment paper.  Combine all dry ingredients in a bowl.  Add the chocolate chips and cherries.  In a separate bowl, stir honey, coconut oil and vanilla together (you may need to microwave for just a few seconds in order to get them to liquefy).  Add the egg and whisk until combined.  Stir the wet ingredients into the dry ingredients until thoroughly mixed.  Scoop the cookies into tablespoon size balls and place on a cookie sheet.  Gently flatten them with your hand.  Bake for 15 minutes and cool for at least 5 minutes before enjoying.  


Gluten Free Coconut Walnut Banana Bread

  I was perusing some of my fellow foodie blogs recently, and within a week, two of them posted about one of my favorite quick breads: banana bread.  However, they didn’t just stop with your plain ole’ banana walnut loaf.  They had to go and add coconut, one of my all time favorite foods.  I literally went out and bought bananas just so they could get over ripe just so I could make this bread.  Hey, I’m pregnant and when the craving strikes, it has to be satisfied.

Image


  This bread hits all the right notes for me.   The coconut adds just the right twist to take this traditional loaf to the next level.  And, if you really want to get crazy, throw some mini chocolate chips in there.  Ugh….I may or may not have consumed the bulk of a loaf within 24 hours.  Don’t judge me….

Image

Gluten Free Coconut Walnut Banana Bread 

Ingredients:

  • 1/4 cup coconut oil, melted
  • 2 large eggs
  • 1/2 c sugar
  • 1 cup very ripe mashed bananas
  • 2 teaspoon vanilla
  • 1 & 3/4 cups Pamela’s Baking & Pancake Mix
  • 1/2 tsp baking soda
  • 1 tsp baking powder 
  • 1/2 tsp salt
  • 1 tsp cinnamon
  • 1/4 cup toasted walnut pieces
  • 1/4 cup shredded coconut
  • 1/2 cup mini chocolate chips
  • 1/4 cup flaked coconut

Directions:

Preheat oven to 350 degrees. In a large bowl mix together flour, baking soda, baking powder, salt and cinnamon.  In another bowl, combine coconut oil, eggs, sugar, bananas, and vanilla. Stir the flour mixture into the wet ingredients until just combined.  Fold in shredded coconut, walnuts and chocolate chips.  Pour into a greased loaf pan and sprinkle with flaked coconut.  Bake for 50-60 minutes.  Serve warm or at at room temperature.  

Image


Power Bites

Ok, I never thought I would say this, but I’m actually kind of getting sick of dessert.  You know it’s bad when you ask your kids what they would like for a snack and the only thing they can come up with is “a treat” or “chocolate.”  It’s definitely time to wind down off this 2 week sugar high.

Ideally, I’d like my kids to eat fruits and vegetables as a snack, but sometimes it ‘s not convenient or, more often, it’s a battle I am too tired to fight.   I’d rather keep away from overly processed snacks, however, so these power bites are the perfect compromise.  Many of the ingredients are raw/unprocessed; they are packed with fiber and protein; and, best of all, my kids will actually eat them!  They also make a great grab-on-the-go breakfast, so if your New Year’s resolution is to make healthier food choices, these are an ideal little bite to keep on hand for a quick meal or afternoon pick-me-up.

These power balls require no baking so I asked my sweet little helper to lend me a hand in the kitchen.   I’ll let her demonstrate how it’s done.  First, dump all the ingredients into a bowl.  I warmed the liquid component just slightly to make it easier to stir.

Image

Next, thoroughly stir all of the ingredients together.  The mixture should be very thick.

Image

Using your hands, grab a small amount of the mixture and roll it into a ball.  And, viola! Power bites complete! How easy is that?

Image

Place a layer of parchment paper in between each layer in your container and store in the fridge until you are ready to eat.

Image

Image

Power Bites

Ingredients:

2/3 c peanut butter

1 c gluten free, organic oats

1/2 c ground flax

1/3 c raw honey

1 tsp vanilla extract

1/2 cup mini chocolate chips, dried cherries or raw coconut

Directions:

Dump all the dry ingredients in a bowl and stir together.  Add the peanut butter, vanilla and honey (warming very slightly) and stir until you have a thick, cohesive mixture.  Roll mixture into tablespoon sized balls, using your hands.  Store in the refrigerator until ready to eat.

Root Vegetable Soup

I’ve been wanting to share this soup recipe with you all since I started this blog.  But, seeing as we were entering the summer months at the time, it just didn’t seem appropriate.  I made this soup a few weeks ago for a friend and now seemed like the perfect time to finally share the recipe because 1) I’m starting to feel the need to wear my down coat (i.e. its dropping into the 40’s); 2) I made a fun spider web pattern on top of the soup out of half and half, which seemed particularly fitting given we just celebrated Halloween; and 3) it would be a great soup to make for any of the upcoming holidays

Image

This soup really is something special.  I’ve been making it for several years now and Fall just doesn’t seem complete until we’ve shared this meal together.  It is warm and spicy, hearty and satisfying, and packs more root veggies into one pot than I’ve seen in any other soup recipe.  It is also easily adaptable to be vegan and/or dairy free, making it a diet friendly option for most anyone.

This soup easily serves 20 people, so you can make it for a large crowd or freeze part of it for later.  Other than all the chopping, it’s also an easy soup to prepare.  I suggest serving it along with a fall salad (may I suggest apples, walnuts and gorgonzola over lettuce) and some crusty bread.

Image

Root Vegetable Soup (adapted from Taste of Home)

Ingredients

1 lb turkey or pork Italian sausage, optional

1 medium butternut squash, peeled and cubed

4 large potatoes, peeled and cubed

3 large sweet potatoes, peeled an cubed

1 large rutabaga, peeled and cubed

5 large carrots, peeled and cubed

1 medium turnip, peeled and diced

5 cups water

10 cups chicken or vegetable broth

1-2 tsp salt to taste

1 tsp ground ginger

1/2 cup half and half or coconut milk

Directions

Crumble and brown sausage until no longer pink.  Set aside and drain of excess fat.  Stir in all the vegetables, water, broth and seasonings.  Bring the pot to a boil and reduce the heat.  Simmer until the vegetables are tender, about 45 minutes.  Return 1/4 of the sausage to the pot and use and emersion blender to blend everything together until smooth.  Stir in the remaining sausage and half and half.

Gluten Free Crispy Pizza Crust

I’m not gonna lie….there are a few things I really miss since my husband and I took the gluten free plunge.  Most of the time, I just try to find recipes that are naturally gluten free because I think it’s pretty hard, in many cases, to live up to the original.   But, there are those times that a bagel with cream cheese sounds amazing or a scone with a big cup of tea would make my day.    And pizza? I used to love that stuff! My first two children grew in the womb on pizza because it was one of the few things that sounded appealing to me.  I kind of figured I would just have to give up pizza altogether, but my aunt sent me a recipe this past weekend titled the “Best Ever Crispy and Flaky Gluten Free Thin Crust Pizza.”  This sounded like a lofty claim to me, but I figured it was certainly worth the shot if I could enjoy one of my food loves again.

The crust was A-M-A-Z-I-N-G.  Crispy, chewy, and not grainy in the slightest.  It was sturdy and didn’t fall apart after it was loaded up with toppings.  I wouldn’t say it is a dead ringer for the real thing, but it is without question the next best thing.   We will be using this in my house time and again.  My kids even ate it!   If you are gluten free or looking for a lower carb pizza option, look no further than this recipe.

P.S. sorry for the lack of pictures but my lighting was terrible and there aren’t too many pics of pizza dough sans topping that look appetizing.

Image

Image

Gluten Free Crispy Pizza Crust (from Real Sustenance)

Ingredients:

3 cups packed almond meal

7 tbsp of starch (I used arrowroot)

2 tsp baking powder

2/3 c flax meal

1 cup warm water

1 tbsp oil of your choice

Directions:

Preheat the oven to 375 degrees. Mix almond meal, starch and baking powder in a bowl.  Set aside.  In another bowl mix flax meal, oil and water.  Stir until the mixture thickens.  Add the flax to the almond meal and stir until very well combined.   Line two cookie sheets with parchment paper.  Divide the dough between the cookie sheets .  Press the dough out until it is about 1/16th of an inch thick.  I intermittently dipped my fingers in oil to keep them from sticking to the dough.  Pre bake the crusts for 22-25 min until the edges start to brown.   Load up the crusts with your favorite toppings and cheese (dairy or non-dairy) and bake for 15-20 min until the cheese is melted.

Cilantro Lime Chicken with Southwestern Quinoa

Last week it was absolutely roasting in the Midwest.  Our relatively mild summer was slammed with a 90 degree finale.  I was meal planning for the week and trying to come up with ideas that required little indoor cooking.  I had made this chicken and quinoa salad earlier in the summer and my mom has been bothering me to remake it ever since.   Since the recipe requires almost no indoor cooking, it was the perfect dish to make in the oppressive heat.

The chicken portion of this dish is marinated in a mixture of fresh cilantro, lime and various spices, and because it is cut in small pieces and grilled as a kabob, every bite is packed with flavor.  The quinoa salad is the perfect accompaniment to the chicken and has a fresh bright flavor from tomatoes, green onions and fresh cilantro and an added creaminess from black beans.  A winning combination if you ask me!

Image

I should also note that I made zero changes to this recipe.  This almost never happens to me.  My friends laugh at me because I usually look at a recipe and think of things I can add or substitute to make the recipe better.  The flavors of this recipe, however, are so well balanced that they speak for themselves.

Start by blending cilantro, spices, oil and lime juice for the marinade.  Chop 2 pounds of chicken breast into bite size pieces and pour the marinade over chicken.  Allow to marinade for  at least four hours.  I did this step in the morning and let the chicken marinade all day.

Image

Cook the quinoa according to the package directions.   Let it cool slightly and then mix in chopped tomatoes, green onions, cilantro and black beans.  Whisk together lime juice, olive oil and several spices to create a dressing for the salad.  Pour over the quinoa while still slightly warm and toss everything together.  This salad can be served at room temperature or cold.

Image

Before serving, place several pieces of chicken on each skewer.  Grill the kabobs for 15 minutes on medium high until cooked through.  Serve warm over the quinoa.

Image

Cilantro Lime Chicken with Southwestern Quinoa (from My Life as a Mrs)

Ingredients:

For the Cilantro Lime Chicken:
2 pounds (about) boneless skinless chicken breasts, cubed into 1 1/2″ cubes
1 cup loosely packed cilantro
2 cloves garlic, grated
2 limes juices (about 1/4 cup)
1/2 cup extra light olive oil (or other mild flavored oil)
1/2 teaspoon salt
1/4 teaspoon cracked black pepper

For the Southwestern Quinoa Salad:
1 cup quinoa, rinsed well in a mesh strainer
2 cups vegetable or chicken broth
1/4 cup extra light olive oil
2 limes, juiced (about 1/4 cup)
1 small clove garlic, grated
1 teaspoon ground cumin
1 teaspoon salt
1/4 teaspoon cayenne, or more to taste
1 cup halved grape tomatoes
1 (15 ounce) can black beans, drained and rinsed
4 green onions (scallions), finely chopped
1/4 cup chopped cilantro

Directions: 
  Cube the chicken and place in a gallon size ziplock bag.  Blend together the garlic, cilantro, oil, salt and pepper together until smooth.  Pour over the chicken and marinate for at least four hours.
  Cook the quinoa according to the package directions, using chicken broth instead of water.  Whisk together the lime juice, oil, garlic, cumin, cayenne and salt.  Set aside.   Add the tomatoes, green onions, black beans and cilantro to the quinoa. Pour the dressing over the quinoa and mix all ingredients together.  Serve room temperature or cold.
  Place 4-5 pieces of chicken on each kabob.  Grill for about 7 minutes per side or until cooked through.  Serve on top of the quinoa.

Blueberry Crisp

Once upon a time my oldest daughter LOVED frozen blueberries.  She ate them like candy. So, my mother-in-law and I washed, sorted and froze 30 pounds (yes really, 30 pounds!!!) of organic blueberries.  And wouldn’t you know it, right about that time that my daughter decided she didn’t like them anymore.  This meant that 30 pounds of blueberries were relegated to my chest freezer where they have been hanging out for over a year.

Recently, my mother in law gave me this book by Shauna Niequist and I figured it had to be good because it was about food.  I didn’t make it very far before I wanted to try the blueberry crisp recipe recorded at the end of the first chapter.  You can imagine my excitement when I found a healthy, gluten free version of a blueberry crisp, which promised to use at least two of those 30 pounds of berries.

This crisp is rich and sweet enough for dessert, but virtuous enough to enjoy for breakfast.    Start with about 2 pounds of blueberries, almond meal, pecans, coconut oil, maple syrup and gluten free oats.Image

Pour the berries in an 8″ glass baking dish and then put all other ingredients in a food processor until everything is finely chopped and well combined.

Image

Spread the crisp topping over the blueberries and bake at 350 degrees for about 45 minutes or until the berries or bubbly and the crisp topping is golden brown.

Image

Enjoy warm or at room temperature, alone or with ice cream or yogurt.  Any way you slice it, it’s delicious!

Image

Blueberry Crisp (adapted from Bread and Wine by Shauna Niequist)

Ingredients

4 cups blueberries

1 cup gluten free oats

1/2 pecans

1/2 cup almond meal

1/4 cup maple syrup

1/4 c coconut oil

1/2 tsp salt

Directions:

Preheat oven to 350 degrees.  Pour blueberries into an 8″ pan.  Place all other ingredients in a food processor and pulse until finely chopped and well combined.  Spoon the topping over the blueberries and bake for 45 minutes or until the berries are bubbly and the crisp is golden brown.  Serve warm or at room temperature.

Grilled Fish Tacos

   This July was a big one.  My brother got married, my mom had a birthday and my husband turned 30!! We spent a fun weekend visiting his parents and celebrating the big day, but I always like to make him a meal to help commemorate big days in his life.  His mom and I often joke that his love language is food, especially any sort of Mexican food.  This year, he requested fish tacos with all the fixings.  I wanted to go for a lighter version since the usual beer battered and fried fish pieces were hardly low calorie. I went for a marinated and grilled tilapia and it did not disappoint!  These tacos are incredibly easy and ridiculously delicious.    They are best when accompanied with pico de gallo, guacamole, cilantro and a few lime wedges.  I also made some black beans to serve on the side.

Image


The fish is marinated in a simple mixture of onions, lime, olive oil and spices.  While the fish marinates, slice some red cabbage and dress it in a simple mixture of mayo, lime and salt and pepper.

ImageImage 


   Right before serving, simply throw the fish on the grill for about 5 minutes per side or until the fish flakes easily.  

Image


    Break the fish into bite size chunks and serve on warm corn tortillas with the cabbage, some chopped cilantro and your desired toppings.  And then, don’t be surprised if you want to make these every. single. week.

Image

Grilled Fish Tacos (adapted from Epicurious)

Ingredients:

2 cups sliced white onion

3/4 cups chopped cilantro, divided

8 tbsp lime juice, divided

1/4 cup olive oil

2 cloves mince garlic

1 tsp dried oregano

1 lb tilapia

1 cup mayo

1/2 head red cabbage, sliced

corn tortillas

lime wedges, pico de gallo and guacamole 

Directions: 

  Mix the onion, 1/4 c cilantro, 6 tbsp lime juice, garlic and oregano in a shallow dish.  Place the tilapia on top of the onion mixture and spoon some of the onions over the fish.  Cover and marinate for 1 hour, flipping the fish half way through.  

  Meanwhile, thinly slice the cabbage and place in a medium bowl.  Wisk together 2 tbsp lime juice and mayo and pour over the cabbage.  Refrigerate until ready to serve.

    Preheat the grill to a medium high heath and brush the grill grates with oil. Grill fish for 3-5 min per side until totally opaque.   Break fish into bite size pieces and place in warm corn tortillas.  Serve the tacos with cabbage, guacamole, pico de gallo and chopped cilantro.


Caramelized Peanut Butter Banana Ice Cream

My children are obsessed with ice cream…I mean OBSESSED.  They would eat it three times a day if I let them.  My husband blames this slight “problem” on me and between you and me, he’s probably right.  I saw this recipe on Roost Blog and jumped at the chance to potentially fool my children with an ice cream made out of bananas, very little sugar and protein-packed peanut butter.

Let’s be honest….calling this ice cream is a bit of a misnomer.  My husband compared it more to a frozen cookie dough consistency.  It is rich and decadent and best enjoyed in small portions.

You want to start with very ripe bananas.  The riper the better.  Mine were not as ripe as they should have been, but I was just working with what I had.  Slice the bananas and then toss them in a mixture of honey (or agave for the vegan) and melted coconut oil.  Spread them out over a piece of parchment paper and roast at 350 for about 30 minutes.

Image

After 30 minutes, the bananas will be caramelized and fragrant (reminded me of banana bread).

Image

While the bananas are still warm, pour the bananas and all of their juices into a glass bowl and add 1/2 cup smooth peanut butter.  Blend the mixture together with an emersion blender until very smooth.

Image

Pour the mixture into a container and put in the fridge for 20 minutes.

Image

At this point your ice cream is technically done, but I felt it was absolutely crucial to add some dairy free mini chocolate chips.   You can skip this step if you are aren’t a chocolate lover (do those even exist?) and just keep the ice cream in the freezer for another several hours.  If you choose to add the the chips, take the ice cream out of the freezer after about 20 minutes or when the ice cream is just cool enough not to melt all the chips.  Gently fold in about 1/2 cup chocolate chips.  Return to the freezer for several more hours.

Image

Use an ice cream scoop that has been dipped in warm water to scoop the ice cream and enjoy!

Image

Caramelized Peanut Butter Banana Ice Cream

Ingredients:

8 very ripe bananas

6 tbsp honey

3 tbsp melted coconut oil

1/2 cup smooth peanut butter

1/2 cup dairy free chocolate chips (optional)

Directions:

Preheat the oven to 350 degrees. Slice the bananas and put them on a cookie sheet lined with parchment paper.  Mix the honey and melted coconut oil and pour over the bananas.  Toss gently to coat.  Roast the bananas for 30 minutes until fragrant and caramelized.  Pour the warm bananas in a bowl and add 1/2 cup peanut butter.  Blend with an emersion blender until very smooth.  Place in the freezer for at least three hours or overnight and stir in the chocolate chips after 20 minutes if desired.

Vegan and Gluten Free Pumpkin Bread

Today is a very special day because my little sis, Megan, will be joining us for today’s post.  She just got married so she has been experimenting in the kitchen with recipes that her hubs will love and that will accommodate her dietary restrictions.  She made this for us last weekend and I was so impressed that I asked her to remake it for the blog.  Enjoy!  

Who doesn’t love pumpkin bread every once in awhile!?  The problem: it is usually full of ingredients that are less than ideal for a health food enthusiast or those with dietary limitations.  There are not many recipes out there that can make up for all the sins in pumpkin bread, but I came across one from She Let Them Eat Cake that satisfies both a vegan and gluten free palate.  I was skeptical to try this recipe as I did not think it would be possible to replicate the “real thing”, but surprisingly it was incredibly delicious and my husband continues to ask me to make it, which, let’s be honest is the true test of any baked delicacy.  Let’s get started shall we?

Perhaps the most unfamiliar ingredient in the recipe is flaxseed meal. It intimidated me when I saw this ingredient listed as I thought it might be difficult to find, but I was surprised to find it on the shelves of most grocery stores.  In this recipe it is used as a “starter”.  Combined with warm water, it turns into a foamy paste that doubles as an egg substitute.  Vegans rejoice!

Image

Once the “starter” is well, started, the rest of the recipe comes together just as any other bread or baked good might.  It is important to mix all wet and dry ingredients separately except for the sugar.  The sugar is combined with the flaxseed and water concoction until it forms a foamy paste. The rest of the wet ingredients are then combined with this flaxseed and sugar mixture.  You can use any type of gluten free baking flour, but I find that Pamela’s Baking and Pancake Mix works very well with this recipe.  It can be found in most grocery stores in the gluten free or baking aisles.

Image

Once your wet and dry ingredients are mixed separately, you simply combine the dry ingredients with the wet, a small amount at a time.  It is important not to over mix the batter; just mix until combined.  This would be a good time to add a cup of GF, dairy free chocolate for you vegans out there, or of course regular chocolate works just fine for those who are just GF.  Then simply pour, bake, and enjoy!

Image

Tips: Sprinkle sugar over the raw batter before baking.  It produces a crunchy, shimmery topping that looks beautiful and tastes delicious.  I find that the bread takes longer than suggested in the recipe to bake.  Bake for at least 40 minutes and then test with a knife every 5-10 minutes until the knife comes out clean.

Image

Image

 Vegan and Gluten Free Pumpkin Bread

Ingredients:

2.5 tbsp ground flax mixed with 3 tbsp warm water

¾ cup coconut sugar (or sugar of your choosing), plus more for sprinkling

1/3 cup plus 3 tbsp unsweetened applesauce

1 cup unsweetened pumpkin puree (not pumpkin pie filling)

1 tbsp vanilla extract

½ cup melted coconut oil, plus more for brushing

2 cup my all-purpose mix

2 tsp baking powder

1 tsp baking soda

2 tsp cinnamon

½ tsp sea salt

Directions:

Preheat the oven to 350 degrees. Lightly oil a 9×4 inch loaf pan.

Combine the flax-water mixture in a large bowl, set aside for a couple of minutes. Add the sugar and combine until the mixture is a little frothy. Add all of the applesauce, pumpkin puree, vanilla and oil and stir until combined.

Sift the flours, baking powder, baking soda, cinnamon and sea salt in a medium sized bowl. Add the wet mixture to the dry mixture and stir just until combined (now would be a good time to add 1 cup of chocolate chips or nuts if you like them in your pumpkin bread).

Put in oven and bake for 20 minutes. Remove from the oven and brush with some melted coconut oil. Bake for another 15-18 minutes – or until tested with a knife.