My husband is what I like to call a chicken snob. His definition of a gourmet chicken dinner is what he has dubbed “pounded chicken.” In other words, the chicken’s edible-ness factor increases by 1000% if I take a meat mallet to it. I can’t tell you how many times I’ve made a chicken breast dinner and his feedback is, “You know what would make this even better…if you pounded the chicken.” Secretly, I’ll admit that he is probably right, but I’m usually too lazy or too hurried to take the extra step. But, believe me when I say you must pound the chicken in this dish. It’s totally worth the extra step.
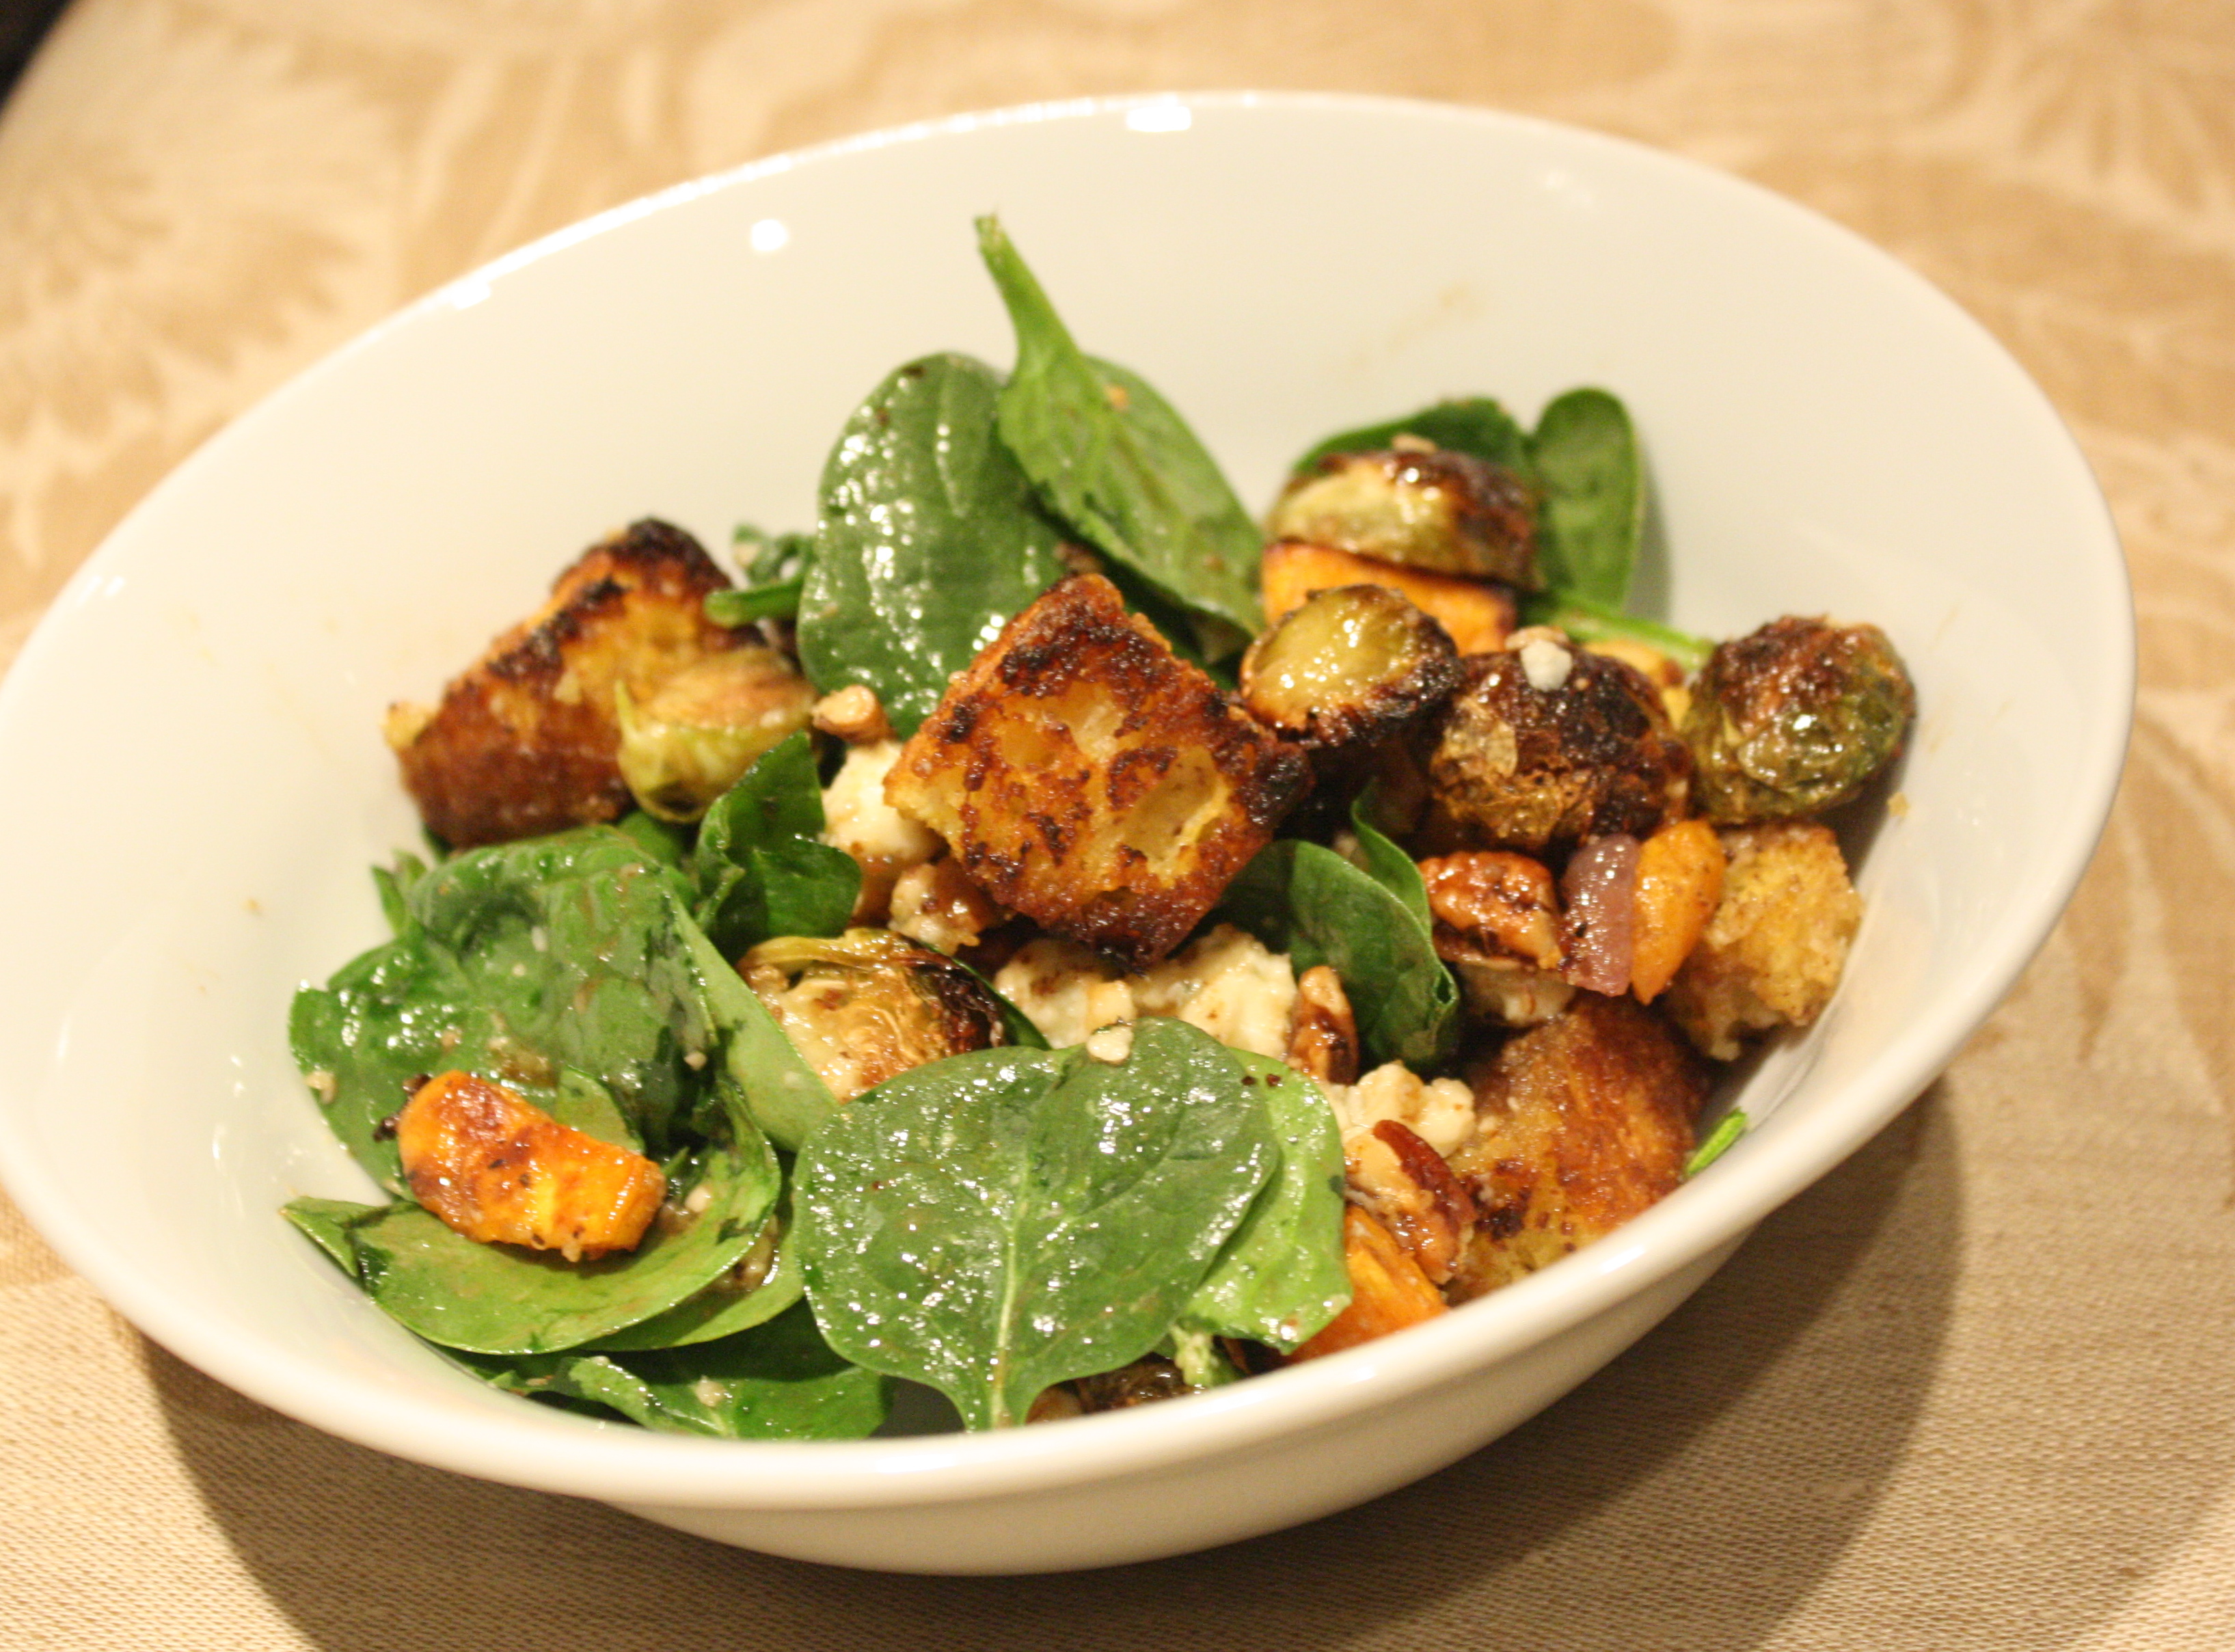
This chicken is everything you want in comfort food, yet still manages to feel light because of the fresh arugula salad piled on top. I usually make this with a simple side of fresh berries and call it good. It’s easy enough to do on a weeknight, but has the presentation elegant enough for a much fancier meal. You might just be making pounded chicken a lot more often!
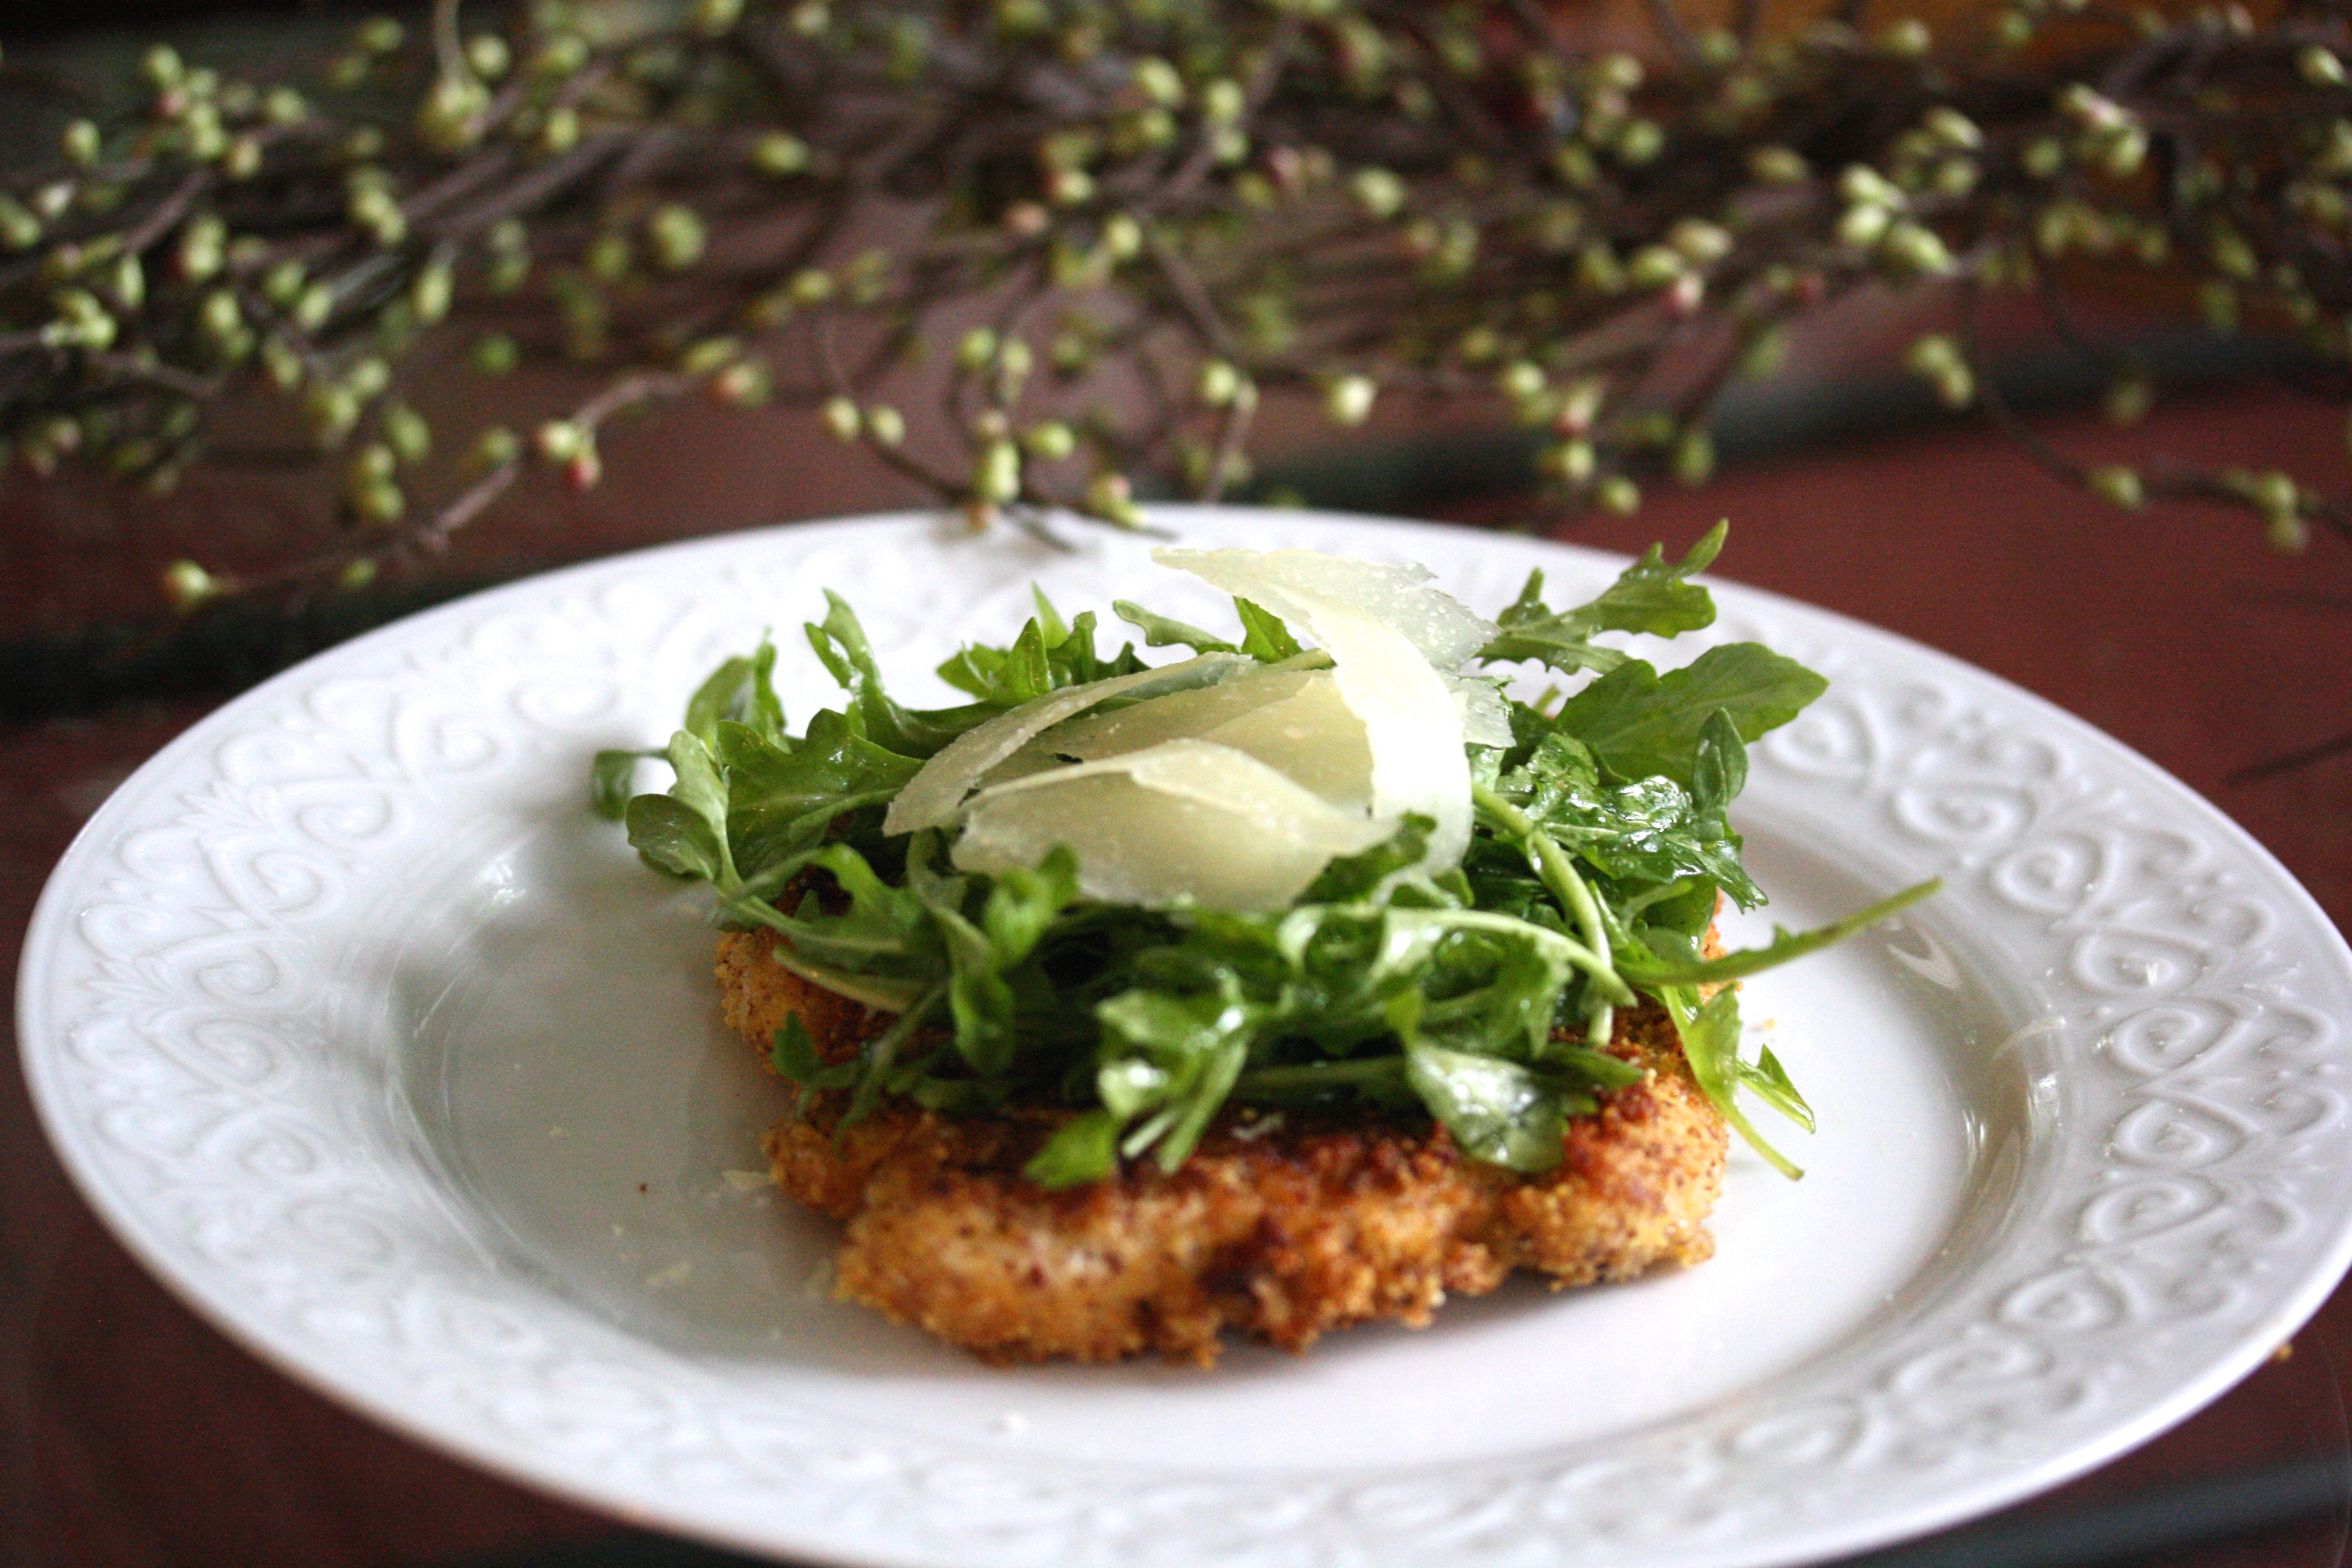

Parmesan Chicken with Arugula Salad
Ingredients:
4 chicken breasts
2 eggs beaten
1/2 cup grated parmesan, plus more for garnish
1/2 cup almond meal
1/2 cup gluten free bread crumbs (or cornmeal)
salt and pepper to taste
2 Tbsp butter
2 Tbsp grape seed oil
3 cups arugula
1/4 cup olive oil
2 Tbsp lemon juice
1 Tbsp sugar
Directions
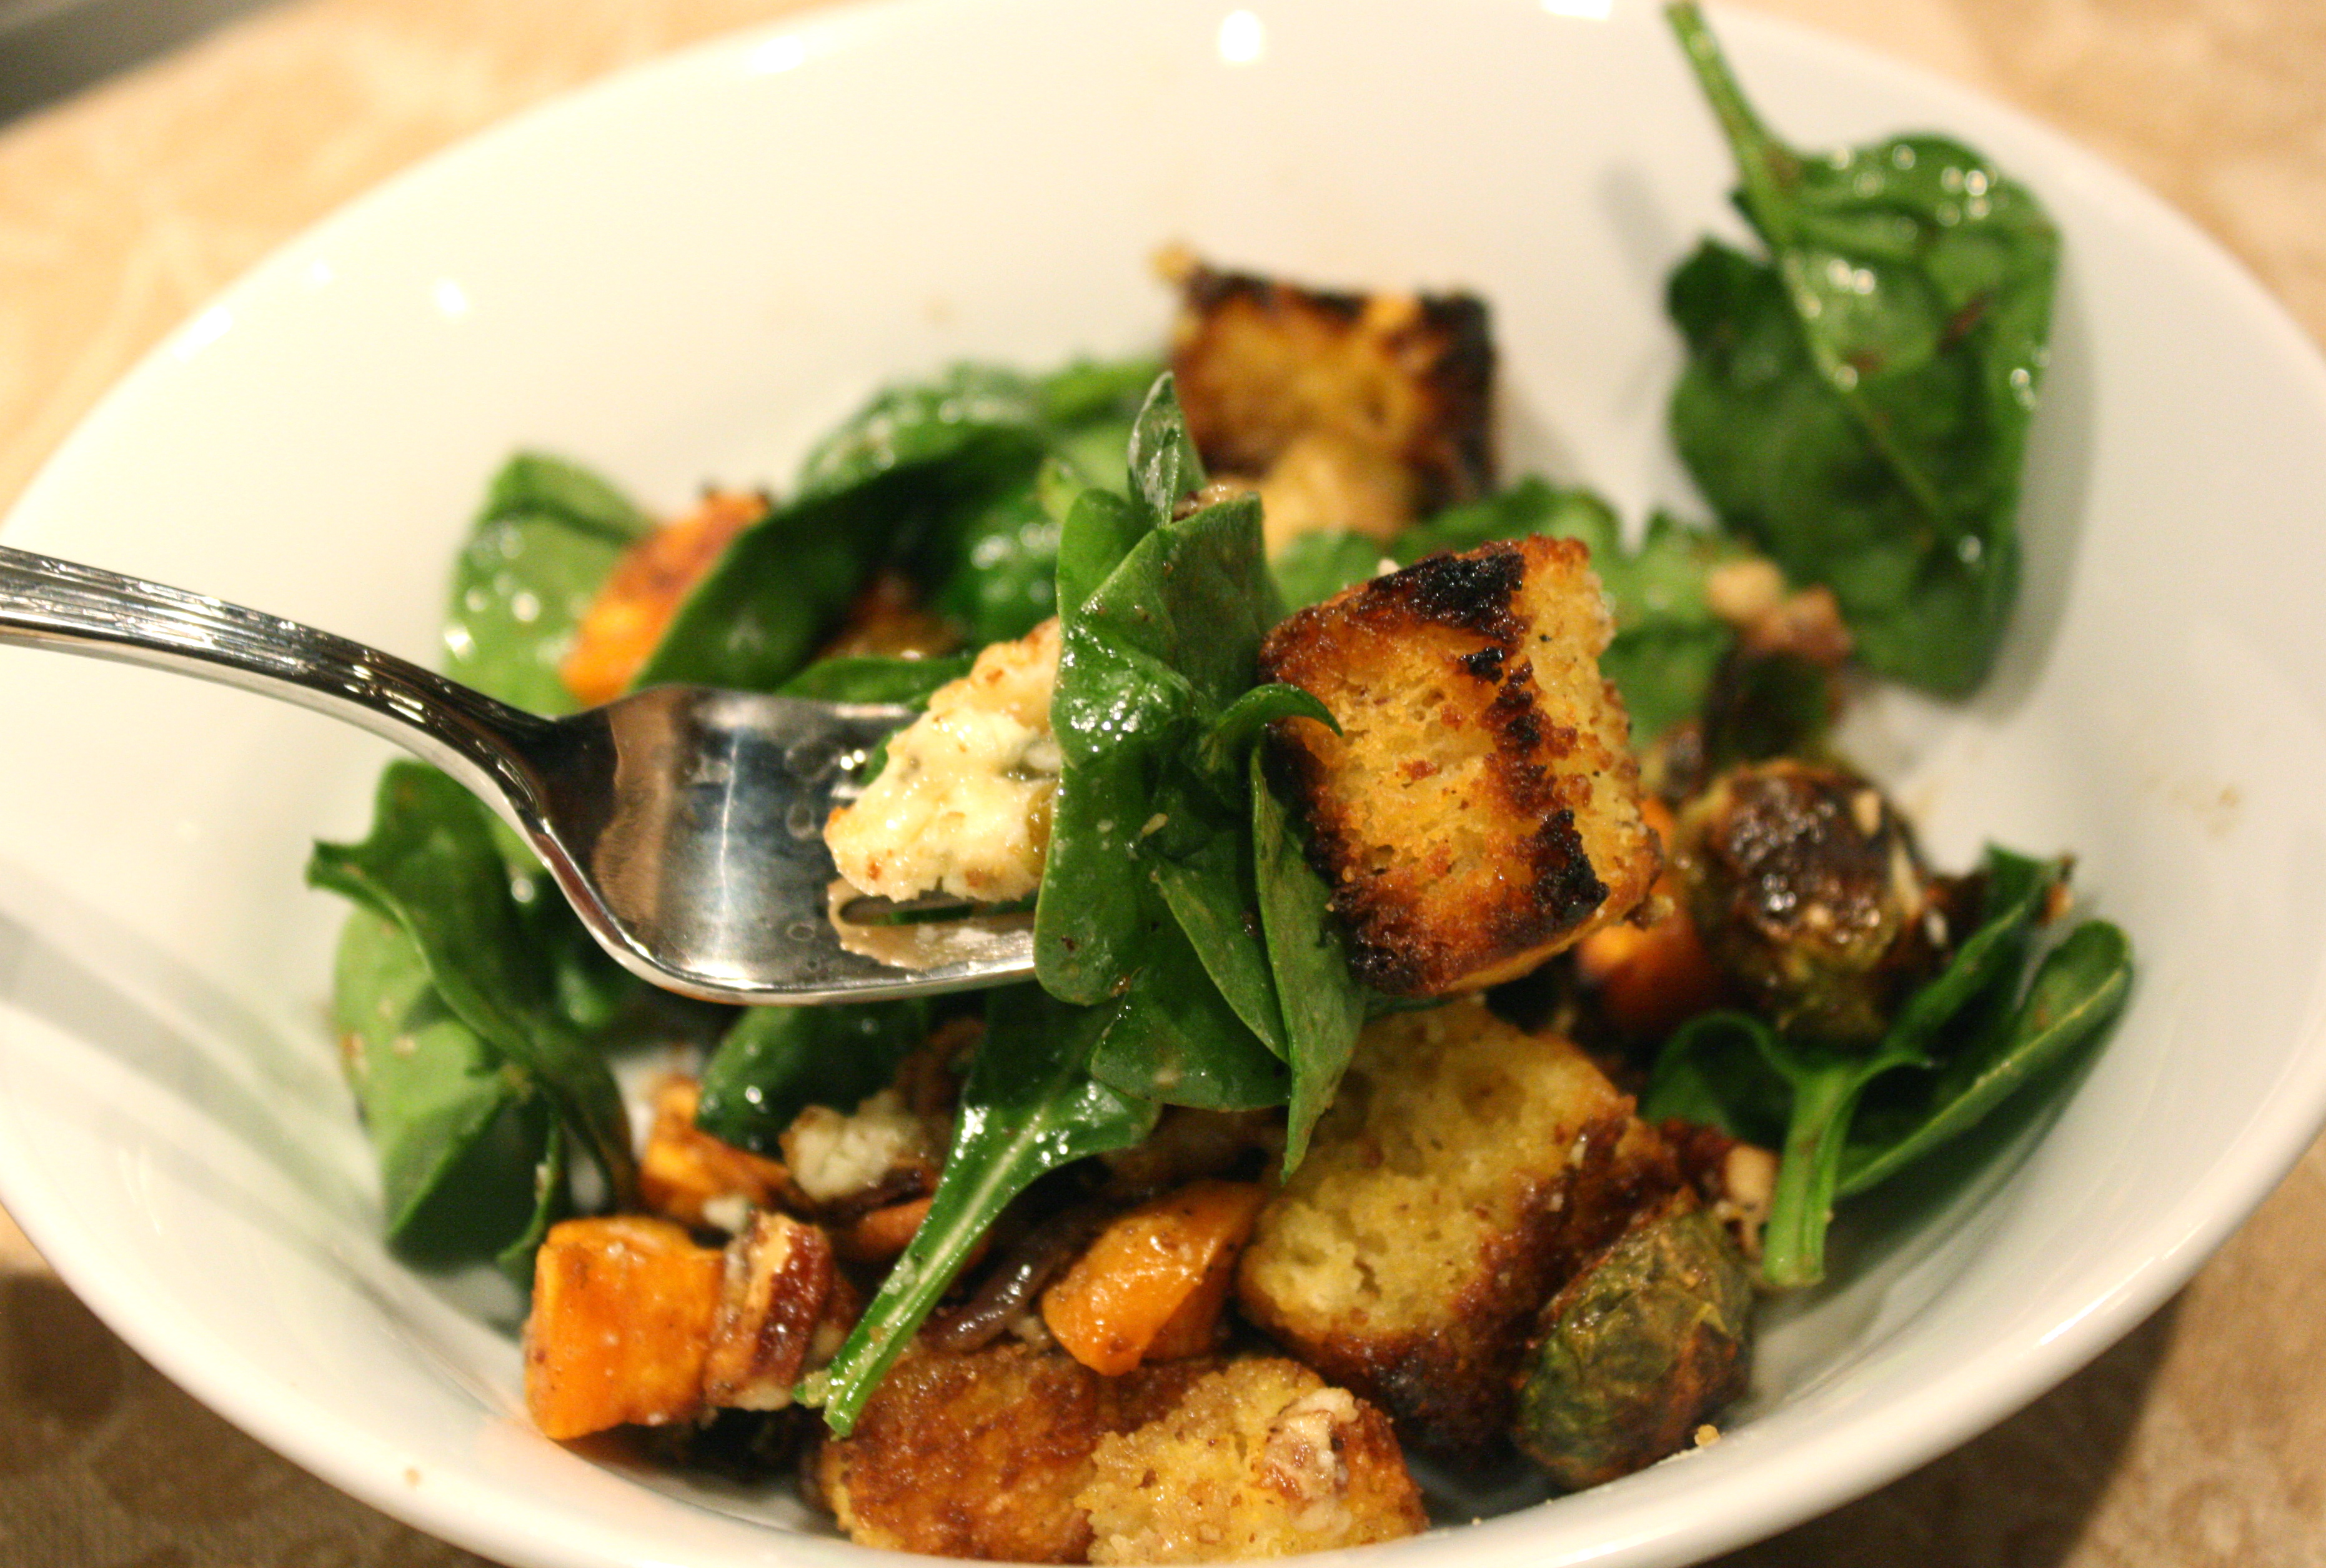
Pound the chicken breasts thin between two pieces of parchment paper or in a gallon size Ziploc. Combine grated parmesan, almond meal, bread crumbs and salt and pepper in a shallow dish. Heat butter and grape seed oil in a large skillet. Dip chicken in egg mixture and the coat in the crumb mixture. Fry in the butter and oil until crispy and cooked through (about 7 minutes per side). Set aside.
Combine olive oil, lemon and sugar and whisk to combine. Pour over the arugula and toss to coat
To serve top one chicken breast with arugula and garnish with additional parmesan shavings.